Noob Section
This is the first section of our course. We will cover the basic usage of GitHub’s web interface and some commands for local usage of Git.
Creating an account
Given that I had previous experience with GitHub, I already had an account:
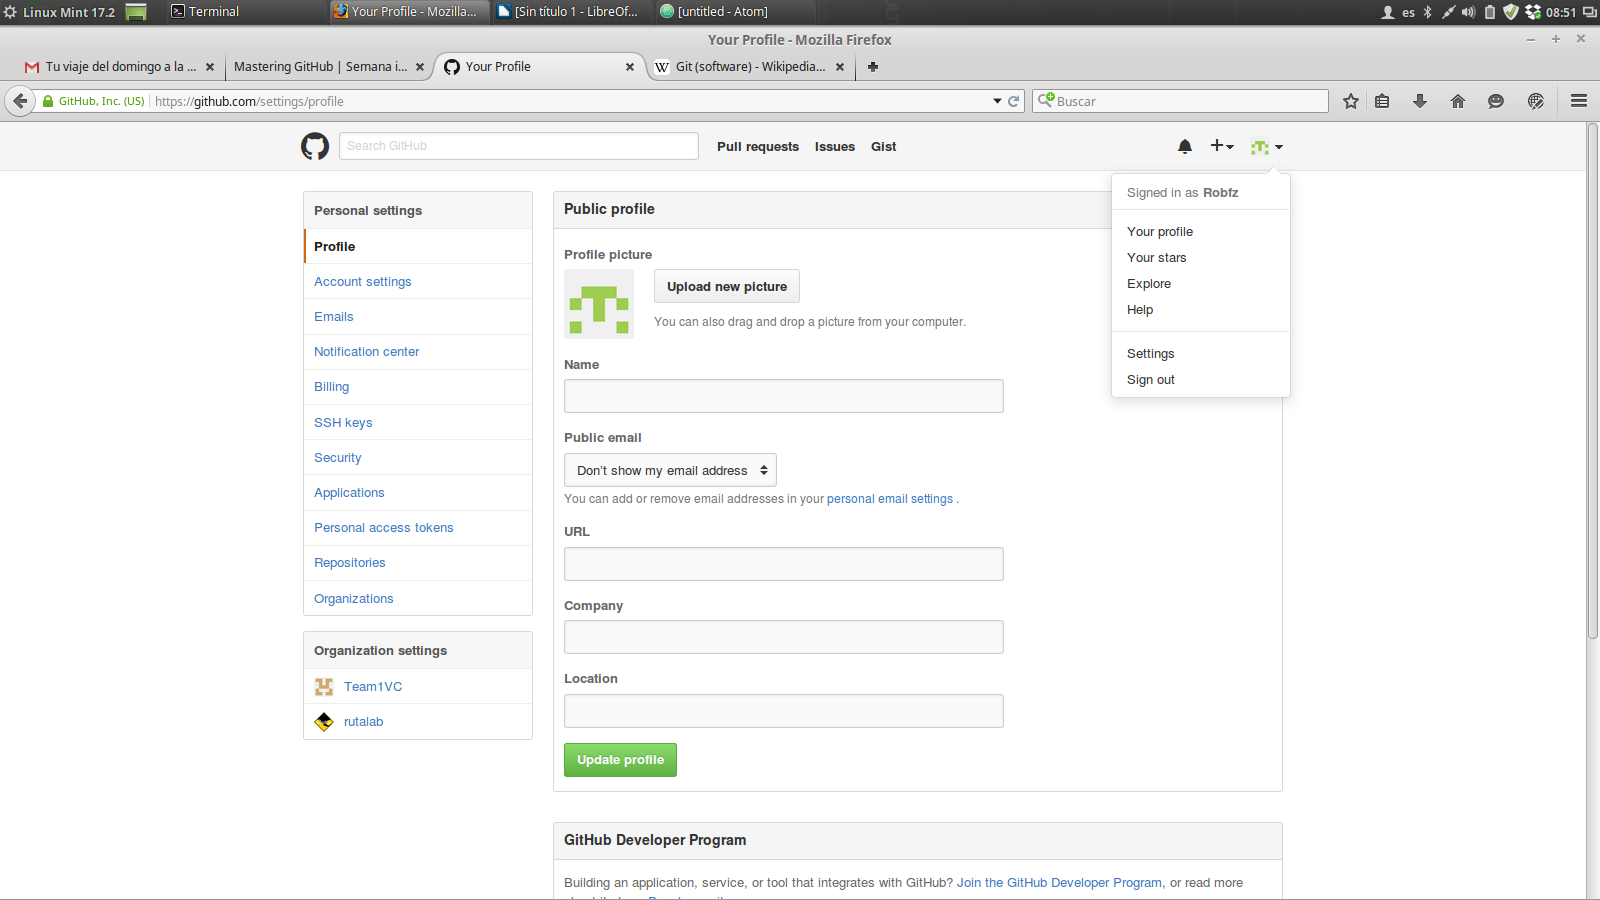
But don’t worry, the sign-up is really straight forward.
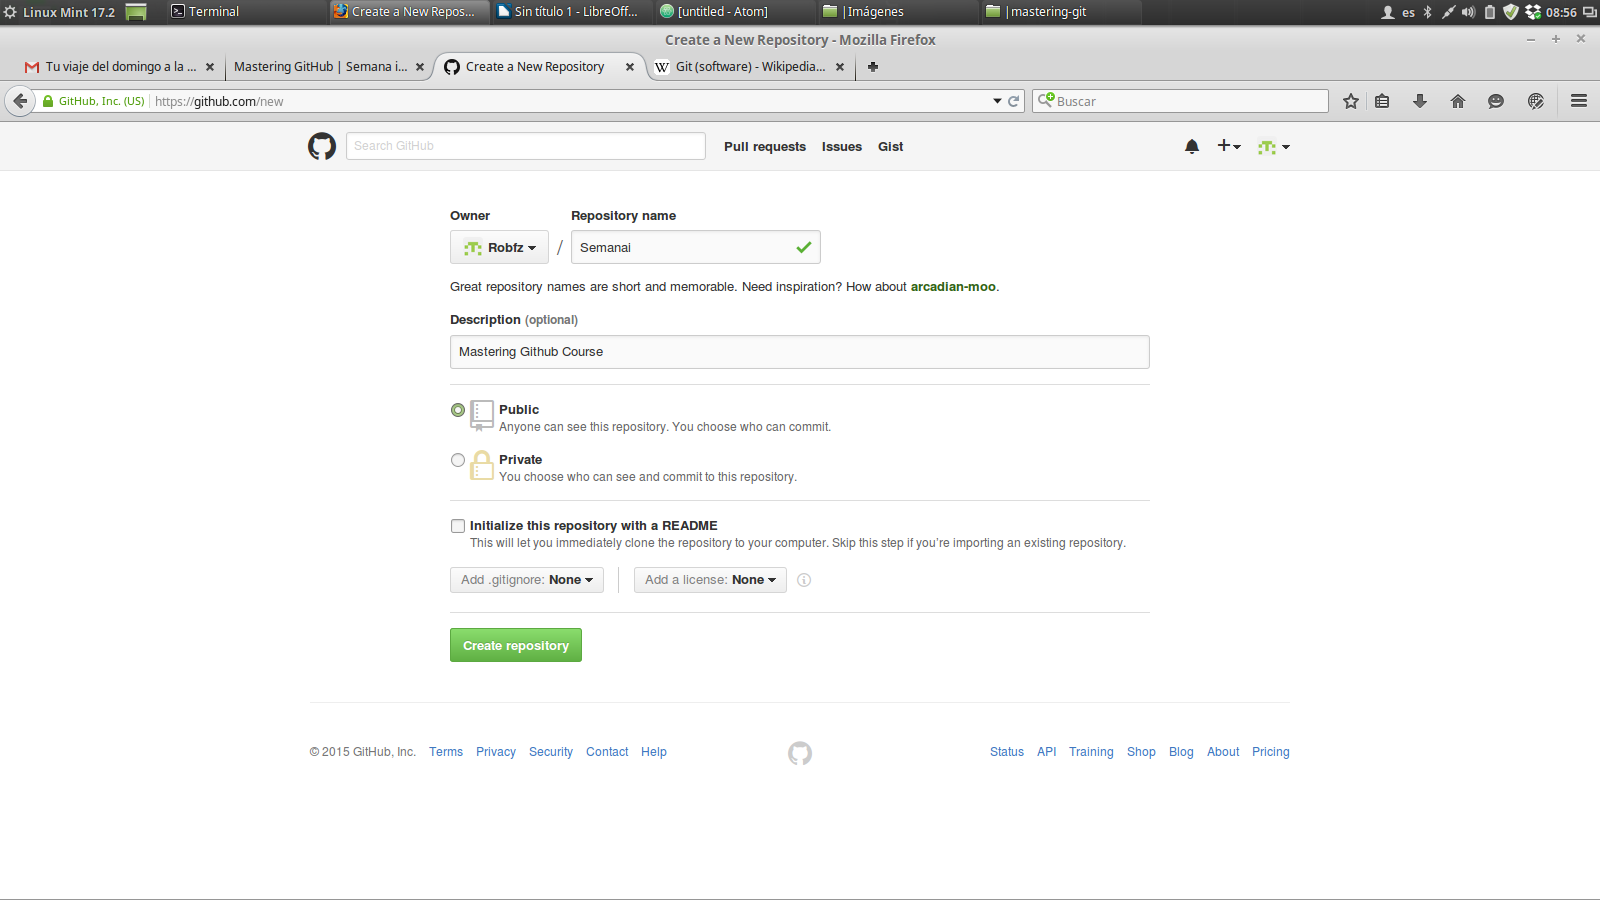
Creating a new repository in GitHub
To create a new repository, go to your GitHub home page (the cat at the top left corner) and click on “New Repository”:
Creating a local repository in your computer
To create a local repository, use the following command inside the folder where you want to create the repository:
git init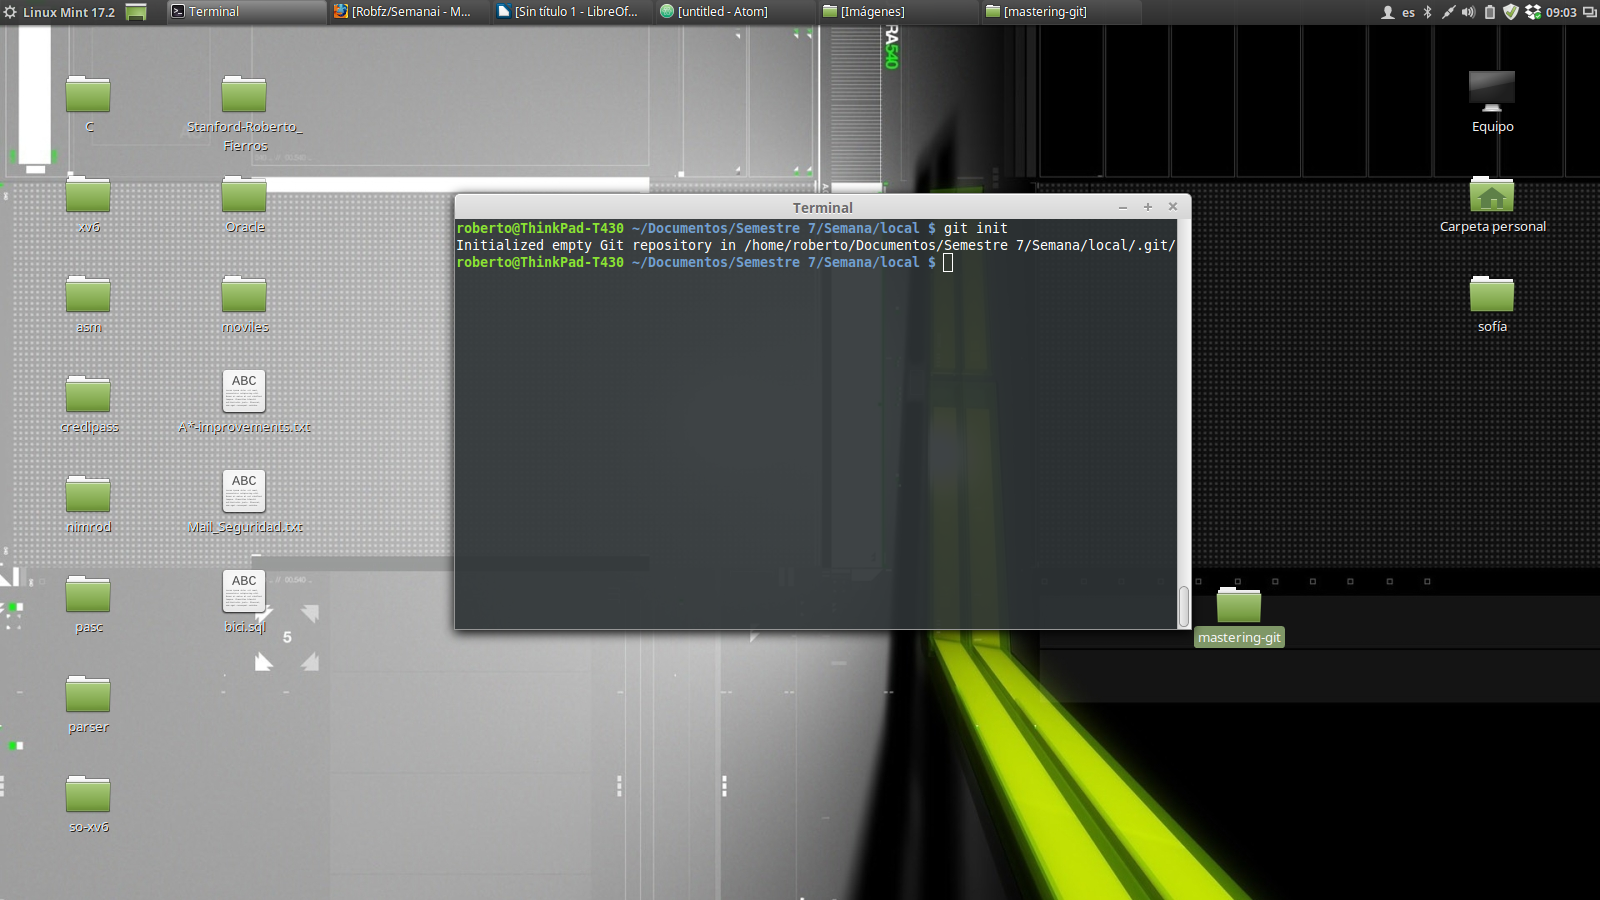
Cloning a repository from GitHub
To clone a repository from GitHub to your computer, go the Repository page and copy the HTTPS link, then enter the following command:
git clone <HTTPS link>
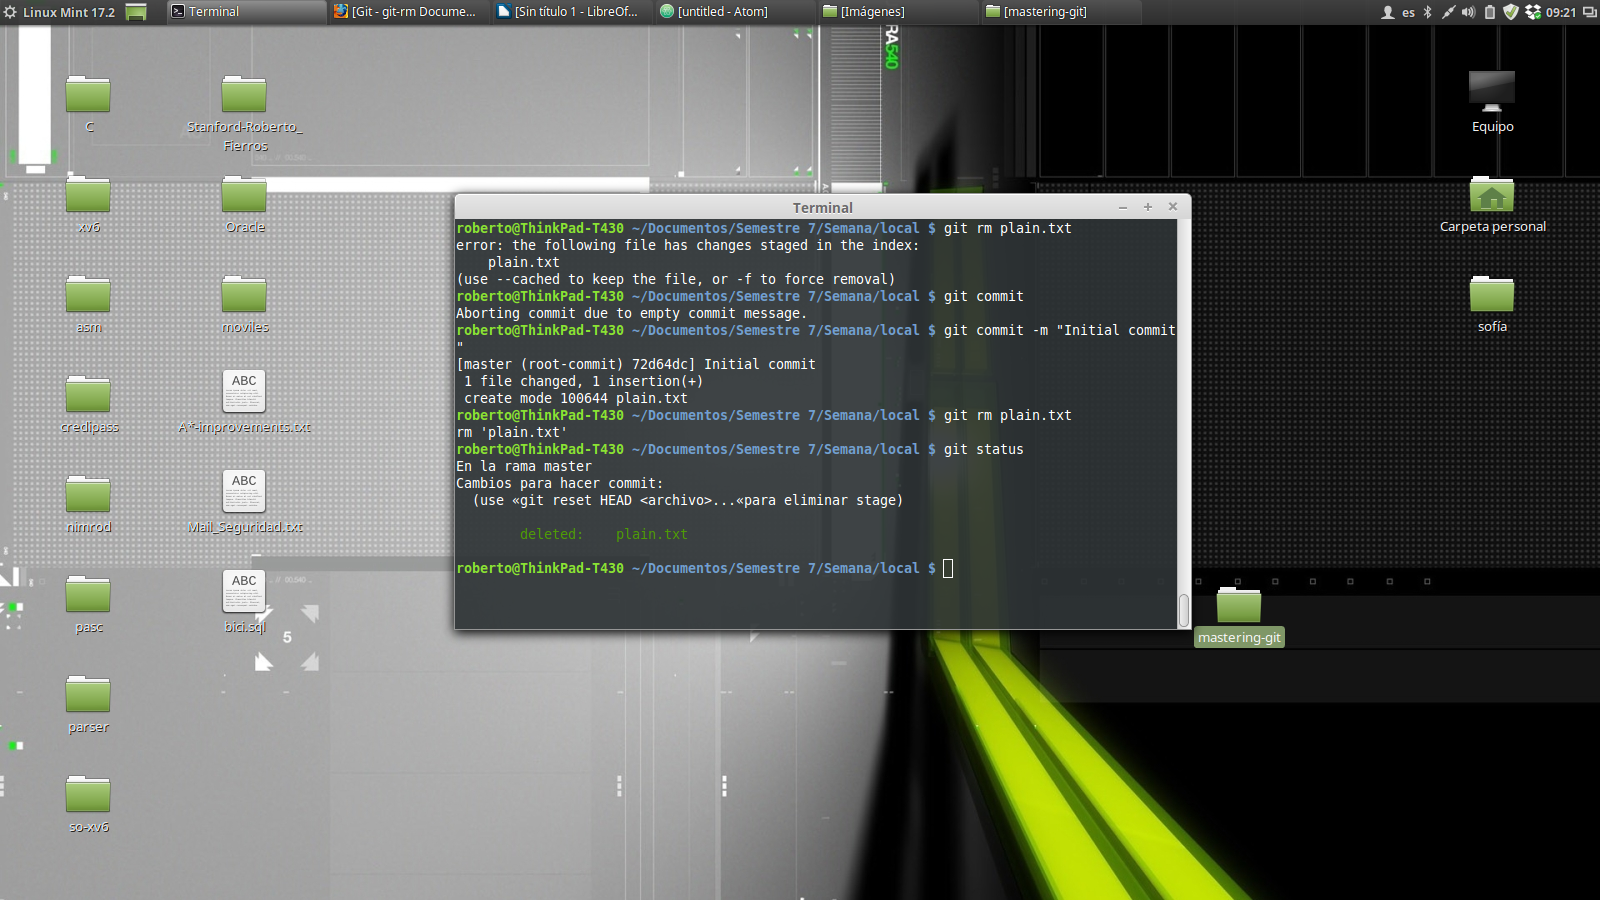
Adding or deleting a file to your local repository
Now lets add a file to our local repository.
First, use any kind of editor to create a new file (code, plain text or something). I created a file named “plain.txt”. To add it to the repository use:
git add plain.txtTo verify that the file was succesfully added, use the following command:
git status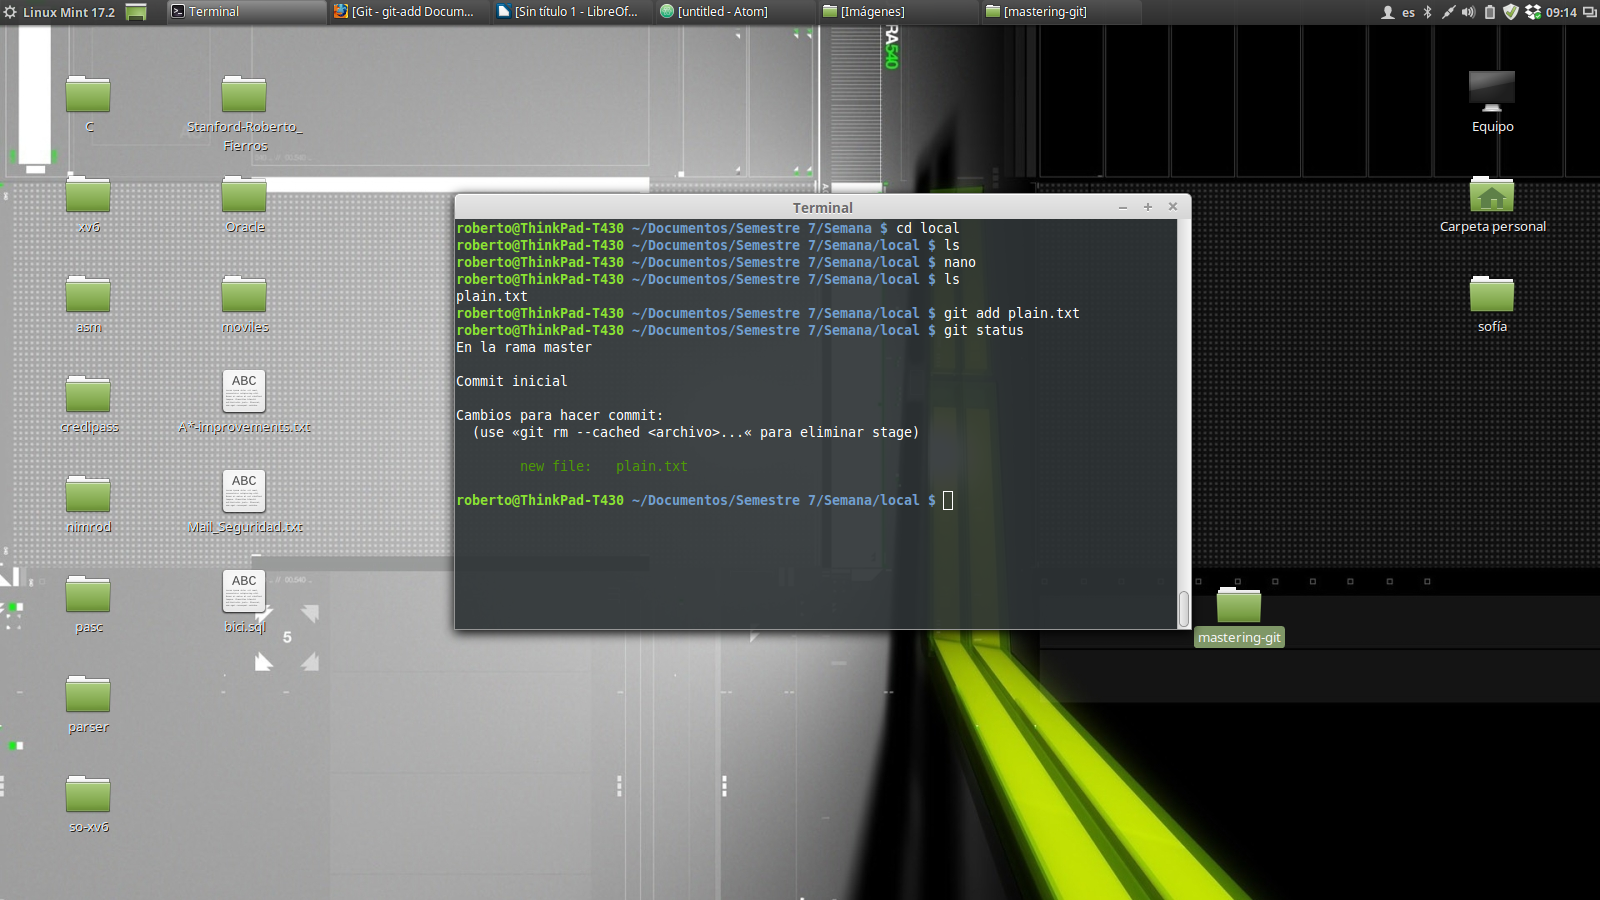
If you want to remove the file use:
git rm plain.txtYou can also use the git status command to verify the deletion:
GitHub's web interface
Now let’s play a little with GitHub’s web interface.
Adding a file
To add a file to the repository from the the web interface, click on the ‘+’ sign next to the name of the repository as shown in the image:
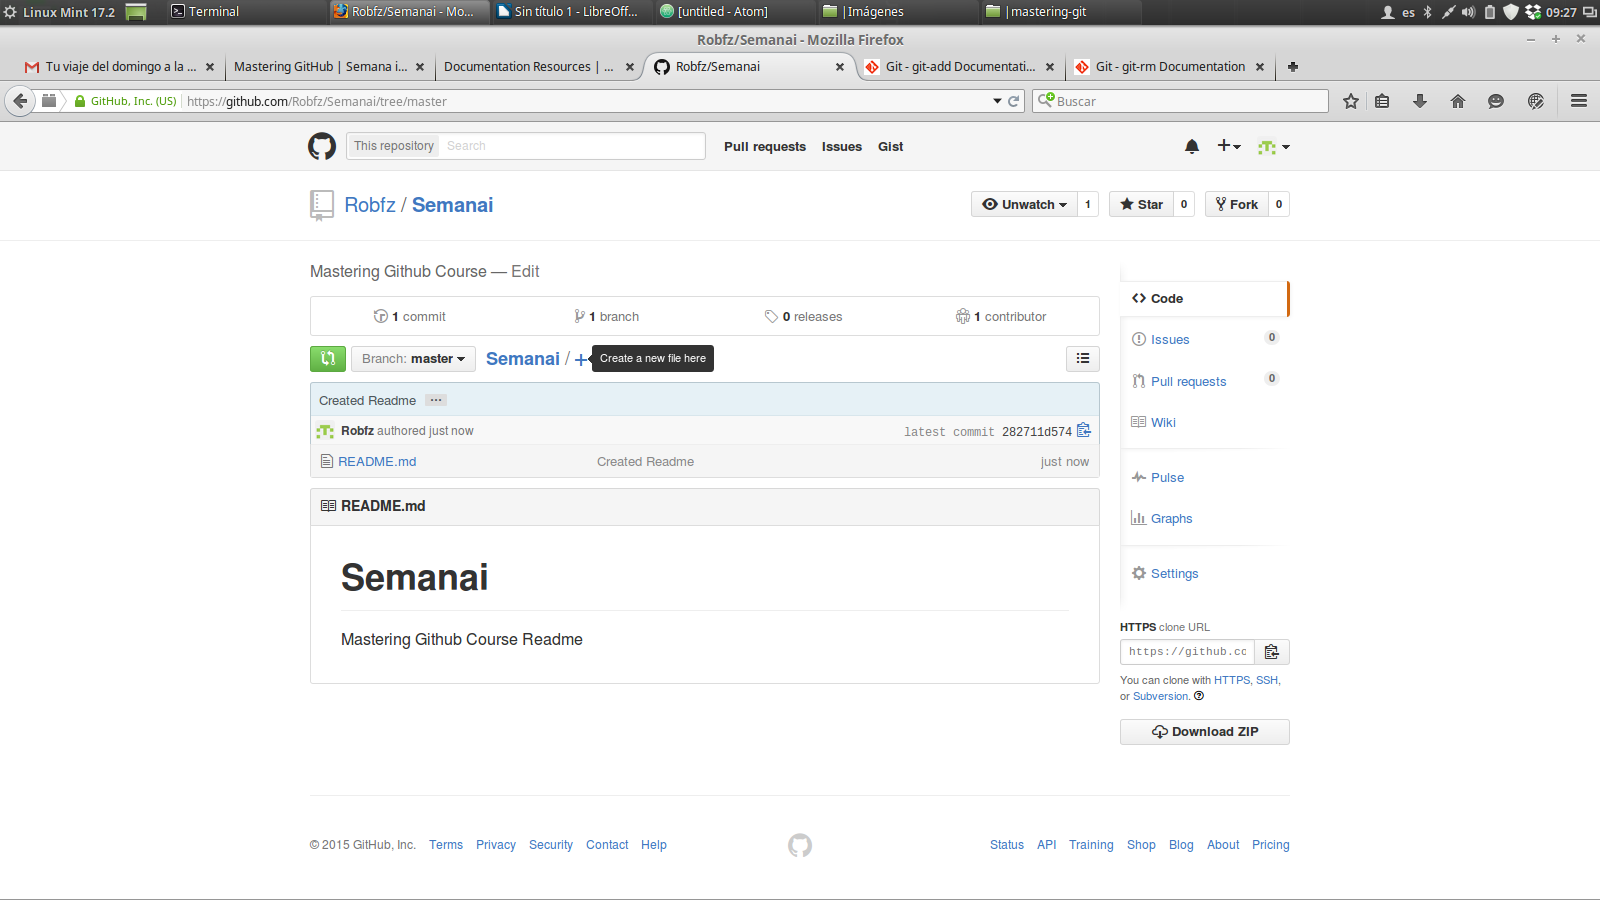
Then select a name for the file, put some content in it, and click on the ‘Commit’ button.
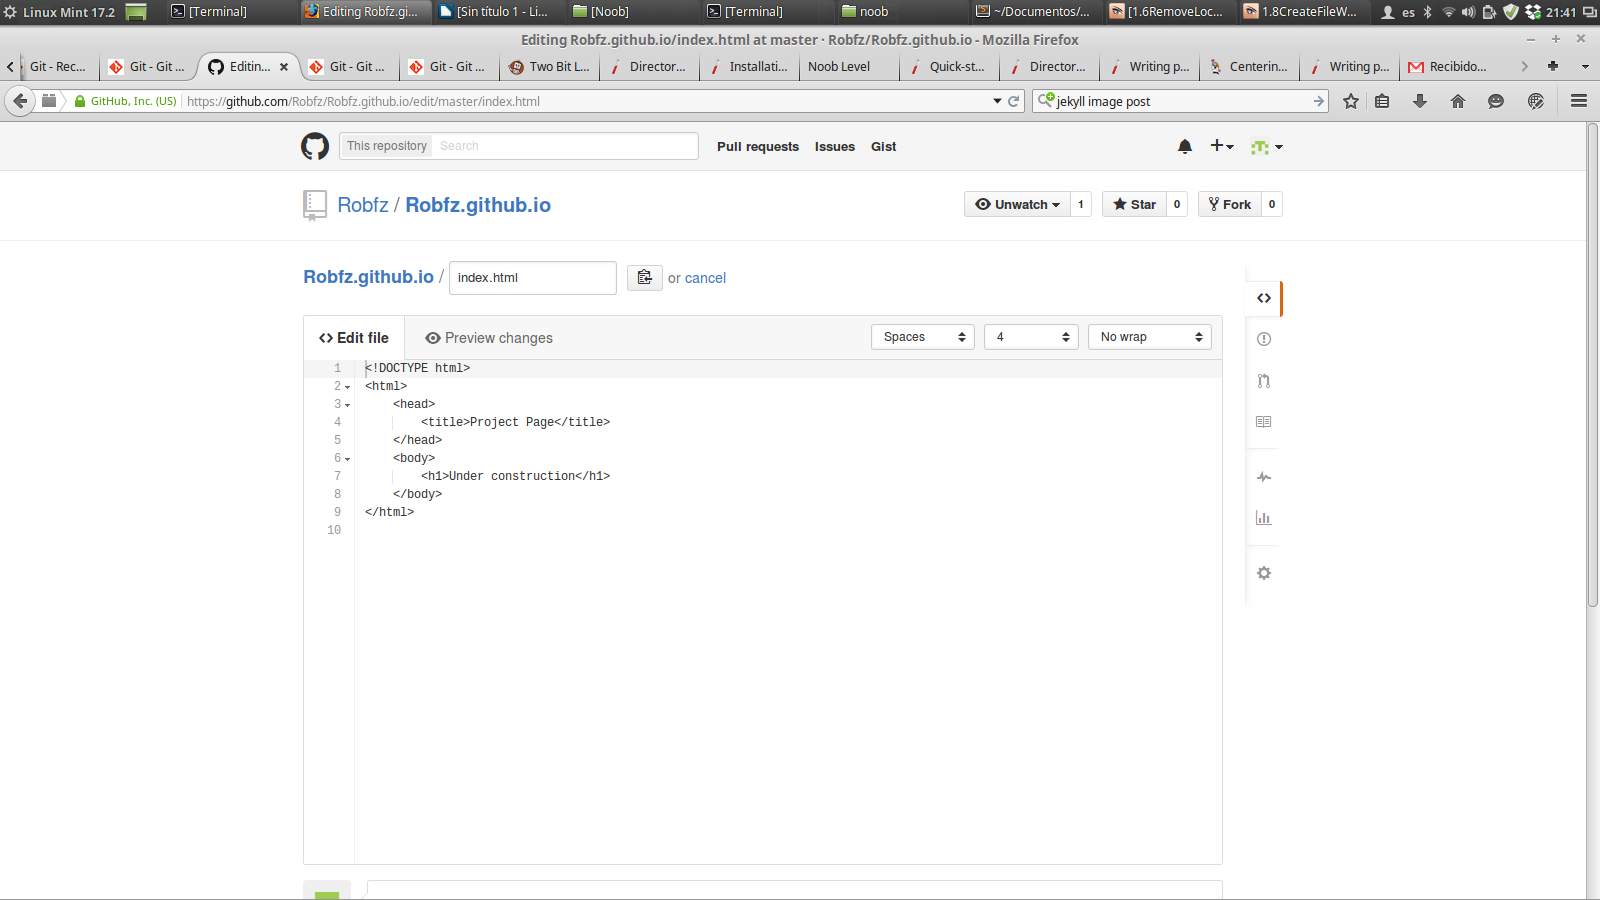
Editing a file
You can modify the content of the file by clicking on it, and then click on the pencil icon as shown in the images:
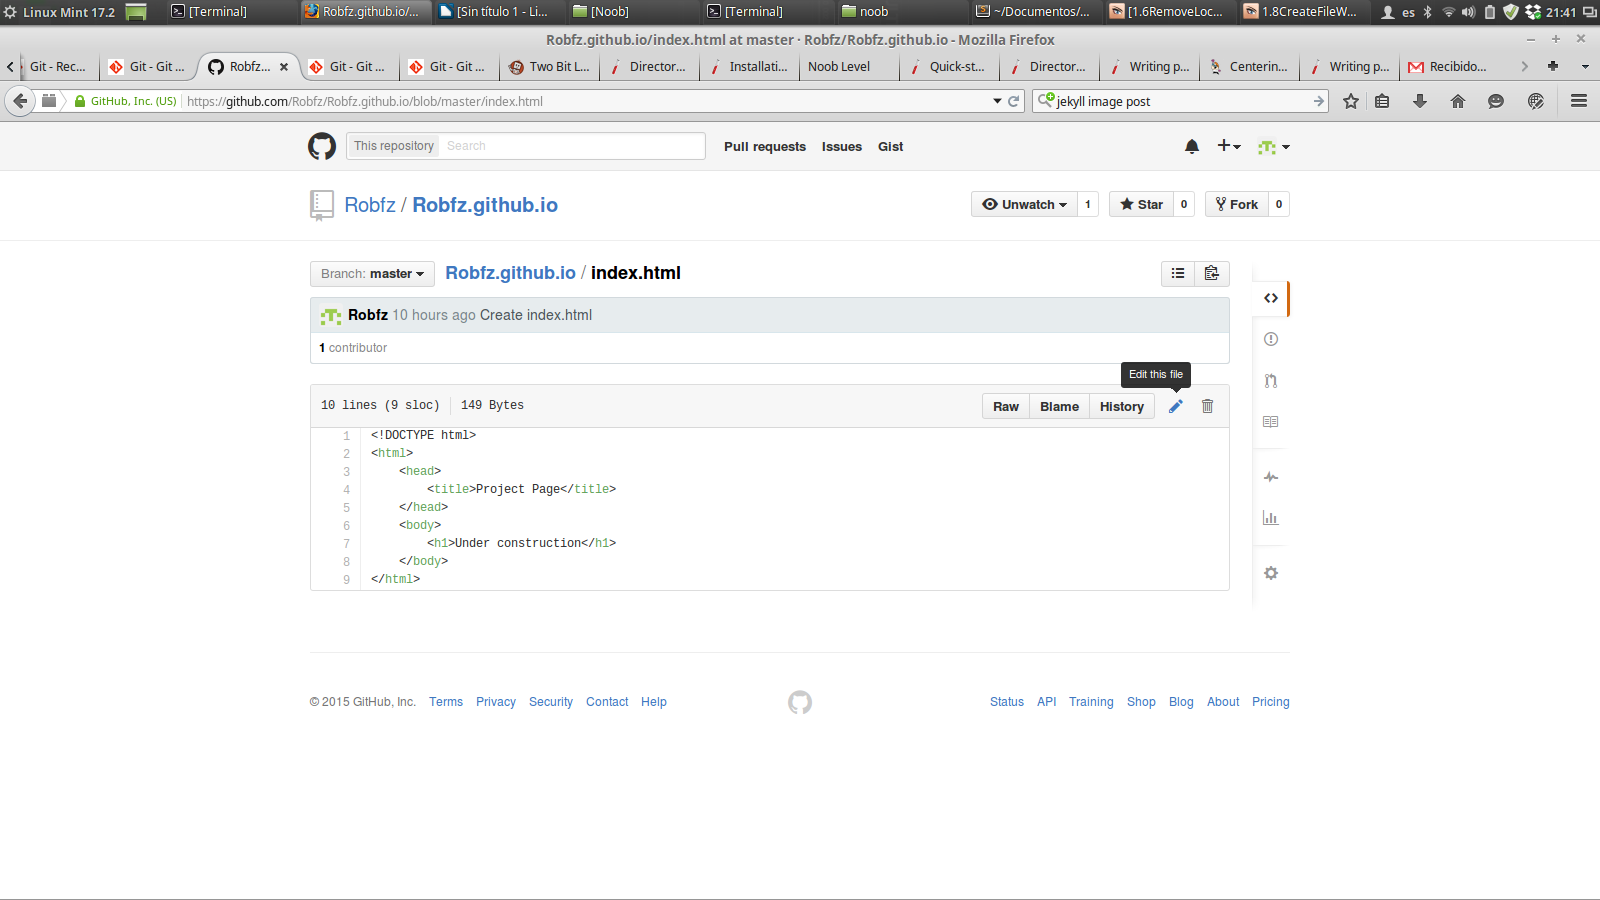
And:
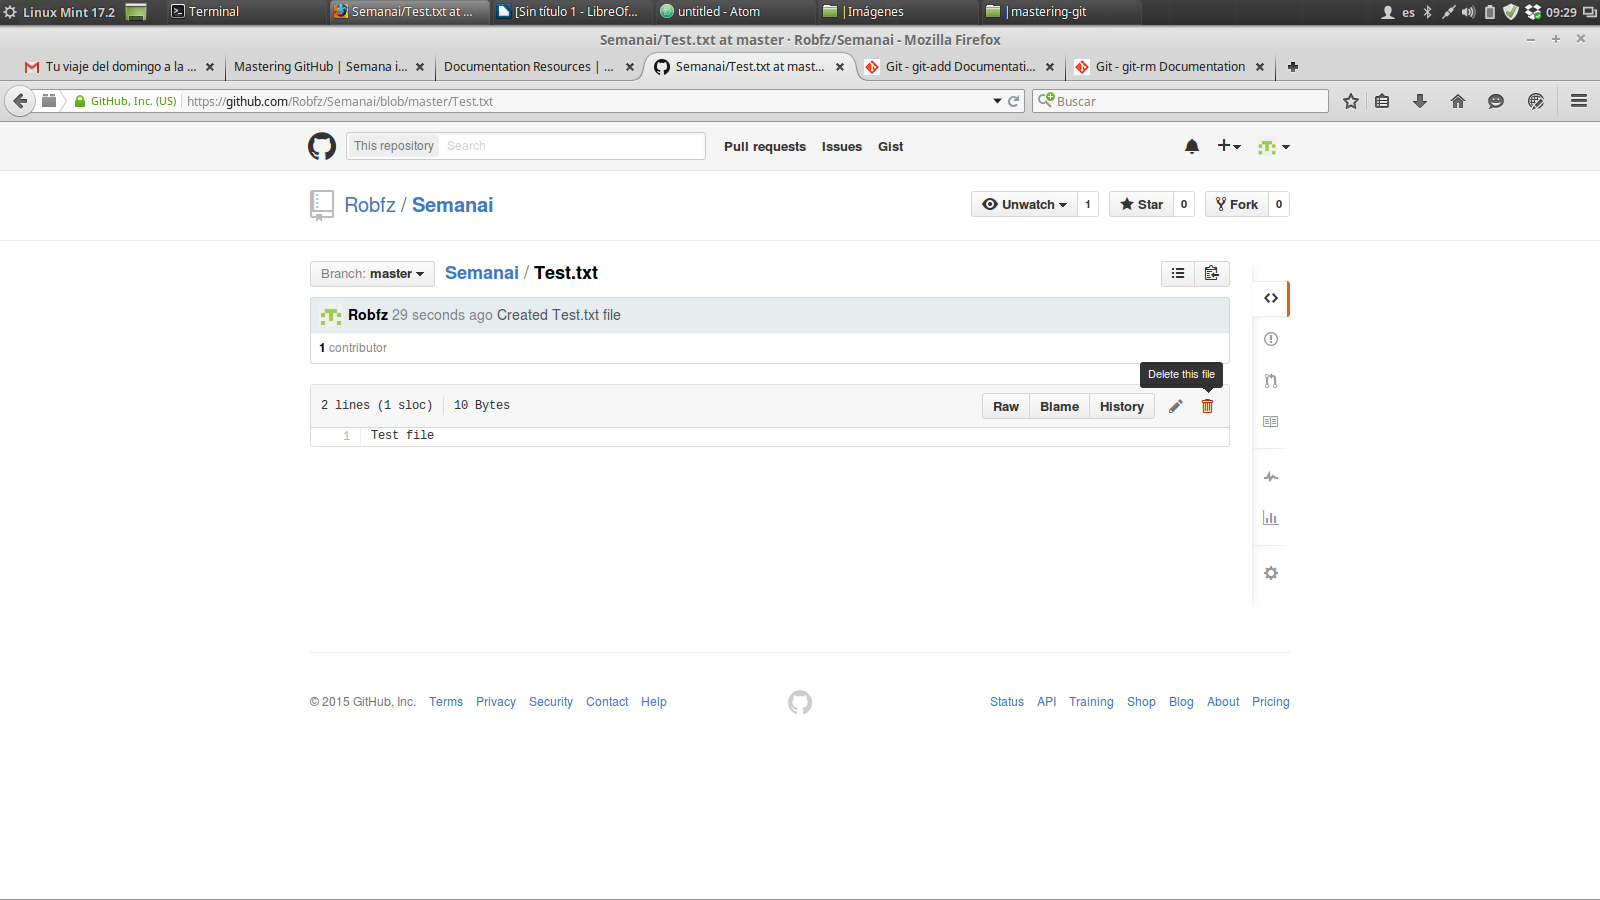
Deleting a file
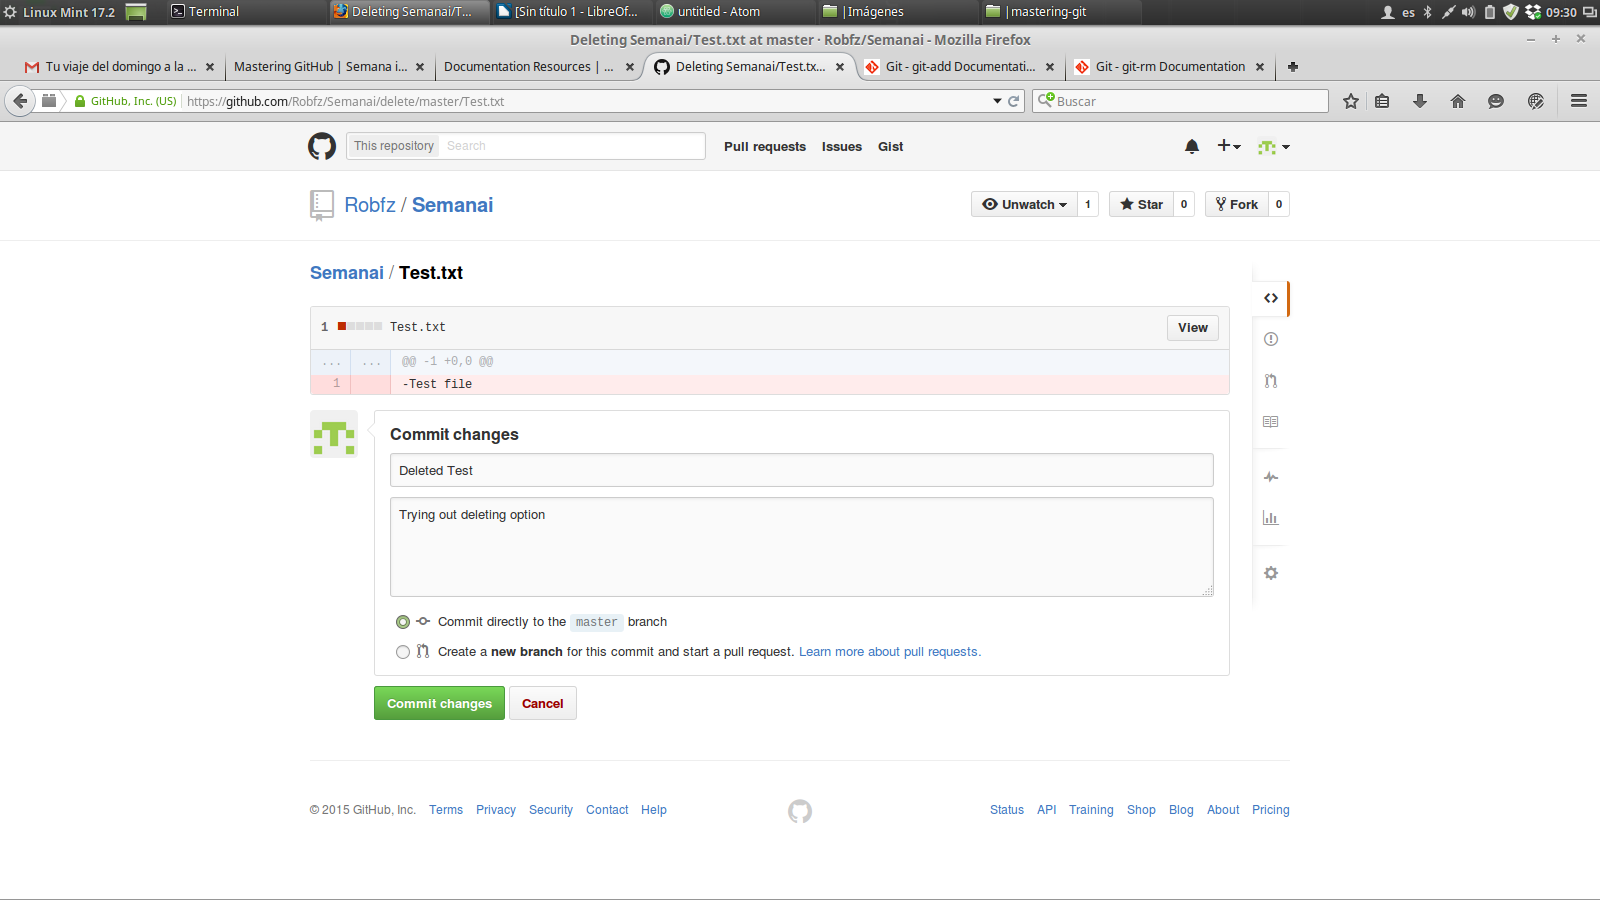
To delete a file from the web interface, select it and click on the trash icon:
And commit changes:
That’s it! Our Noob Section from the course has ended. Continue with next post Basic Section.