Intermediate Section
Now we are going to talk about some intermediate topics.
DiffMerge
Sometimes there will be occasions when we want to compare the differences between file versions. Git comes bundled with a difftool to compare files, but there are better tools. Here, we are going to set DiffMerge as our default difftool.
First download DiffMerge. Then use the following commands to configure Git to use it (these instructions are for Linux):
git config --global diff.tool diffmerge
git config --global difftool.diffmerge.cmd 'diffmerge "$LOCAL" "$REMOTE"'
git config --global merge.tool diffmerge
git config --global mergetool.diffmerge.cmd 'diffmerge --merge --result="$MERGED" "$LOCAL" "$(if test -f "$BASE"; then echo "$BASE"; else echo "$LOCAL"; fi)" "$REMOTE"'
git config --global mergetool.diffmerge.trustExitCode true
And a brief usage guide:
# diff the local file.m against the checked-in version
git difftool file.m

# diff the local file.m against the version in some-feature-branch
git difftool some-feature-branch file.m

# diff the file.m from the Build-54 tag to the Build-55 tag
git difftool Build-54..Build-55 file.m
(Info taken from Two Bit Labs)
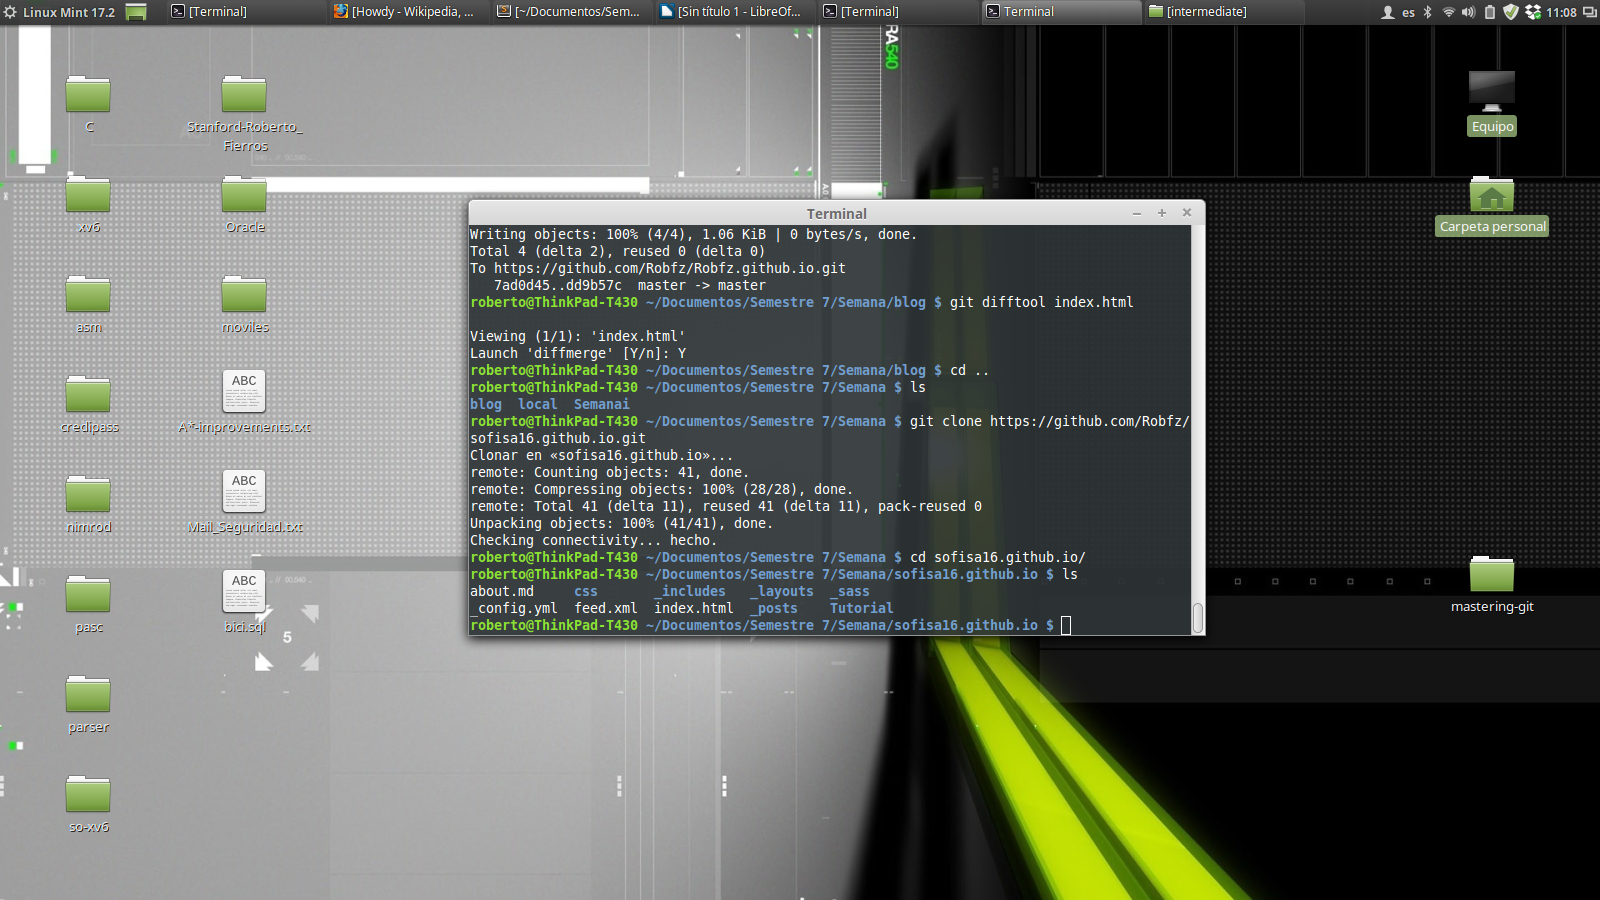
Lets see an example. I am going to modify the file index.html in my repository and run the command:
git difftool index.html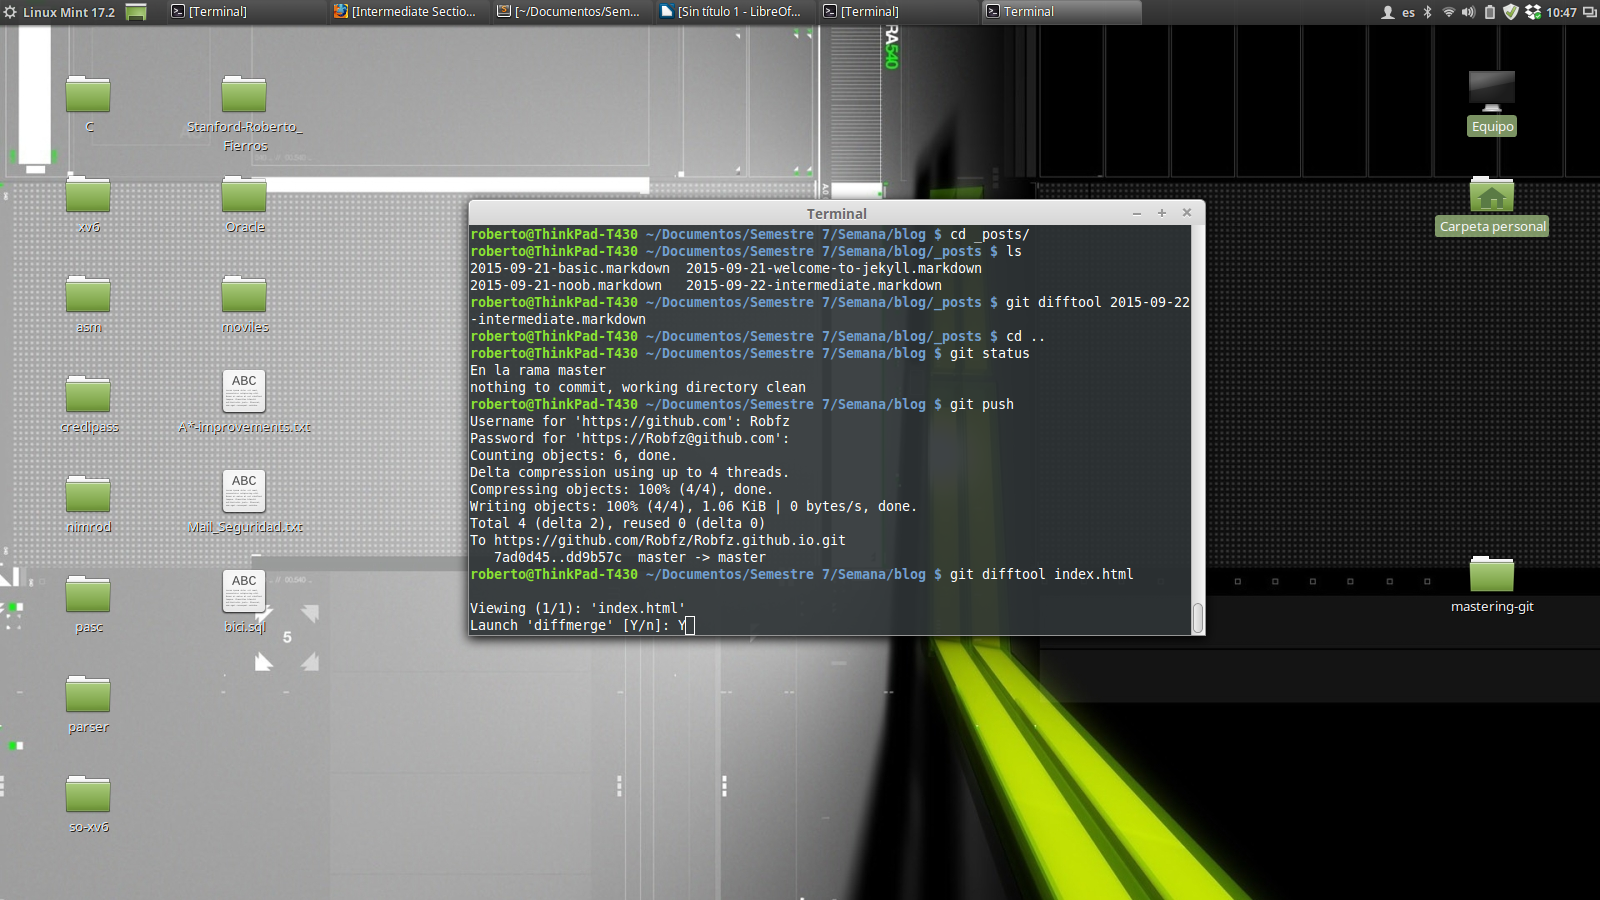
A prompt will ask us if we want to start DiffMerge:
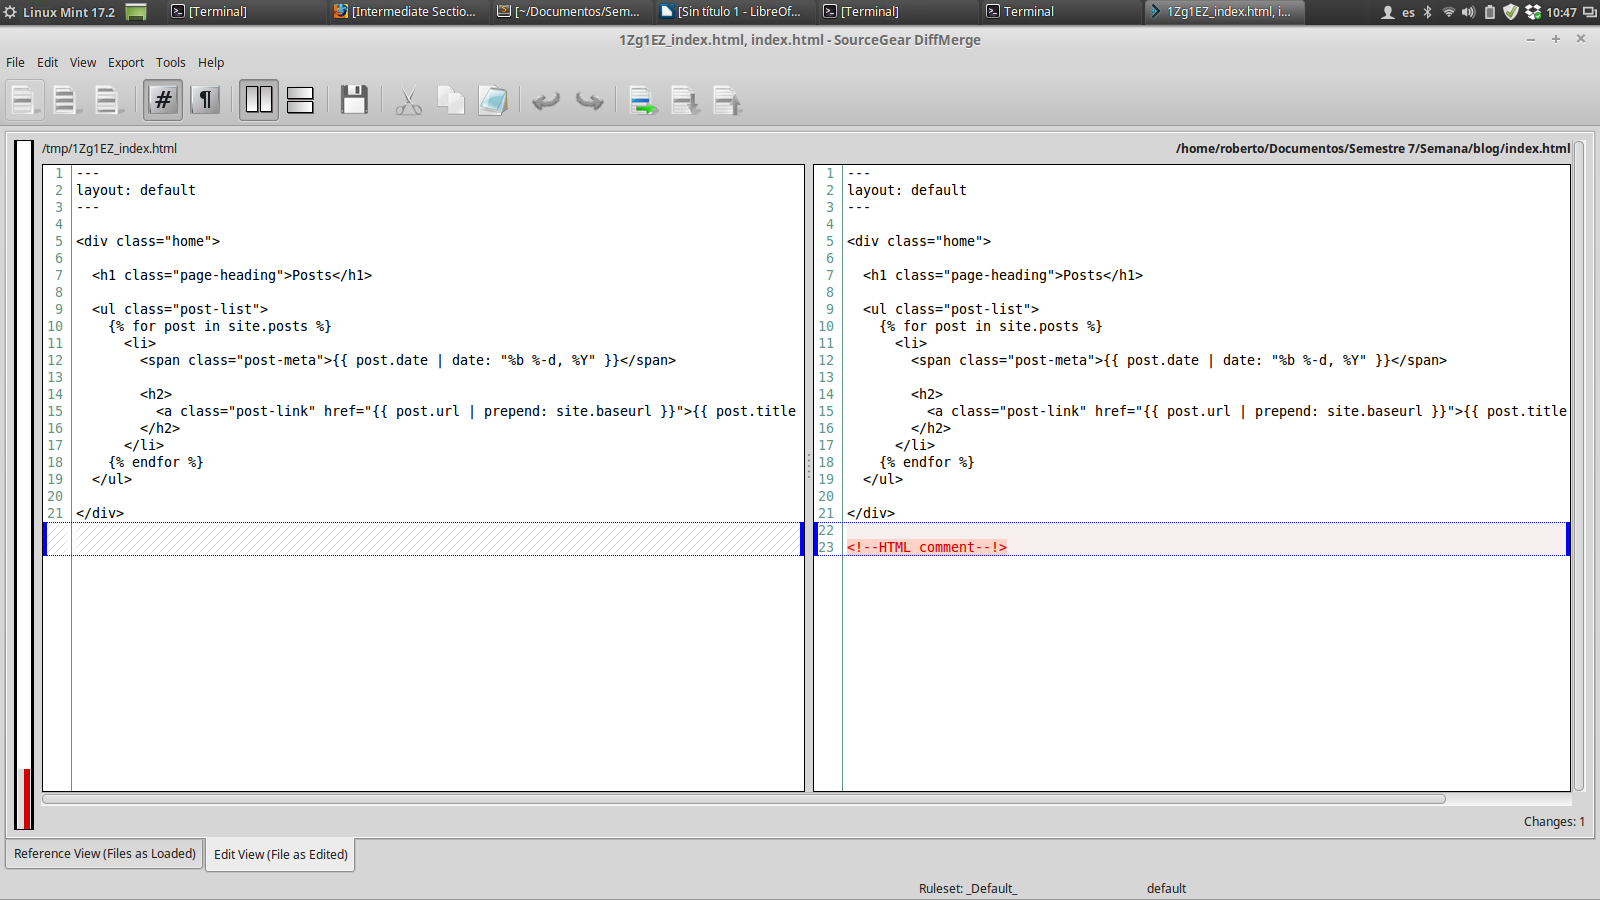
Then we can use git mergetool to merge the files.
Branching
Forking
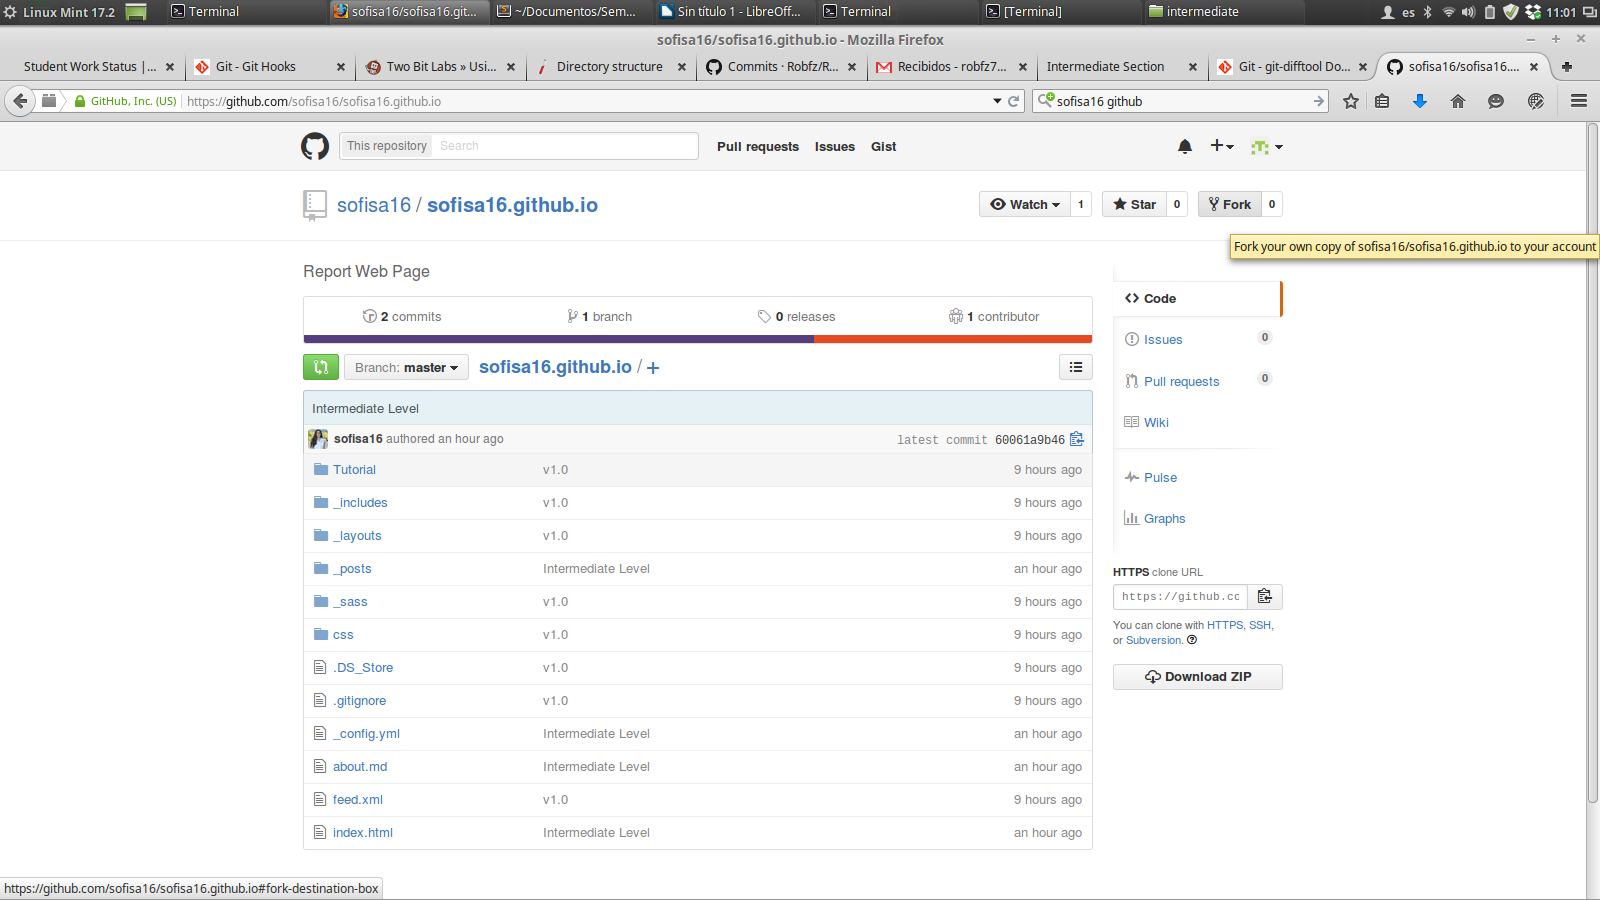
The term fork refers to creating a copy of someone’s else repository and work on it. To fork a repository:
Navigate to the GitHub page of the project you want to fork and click on the fork button:
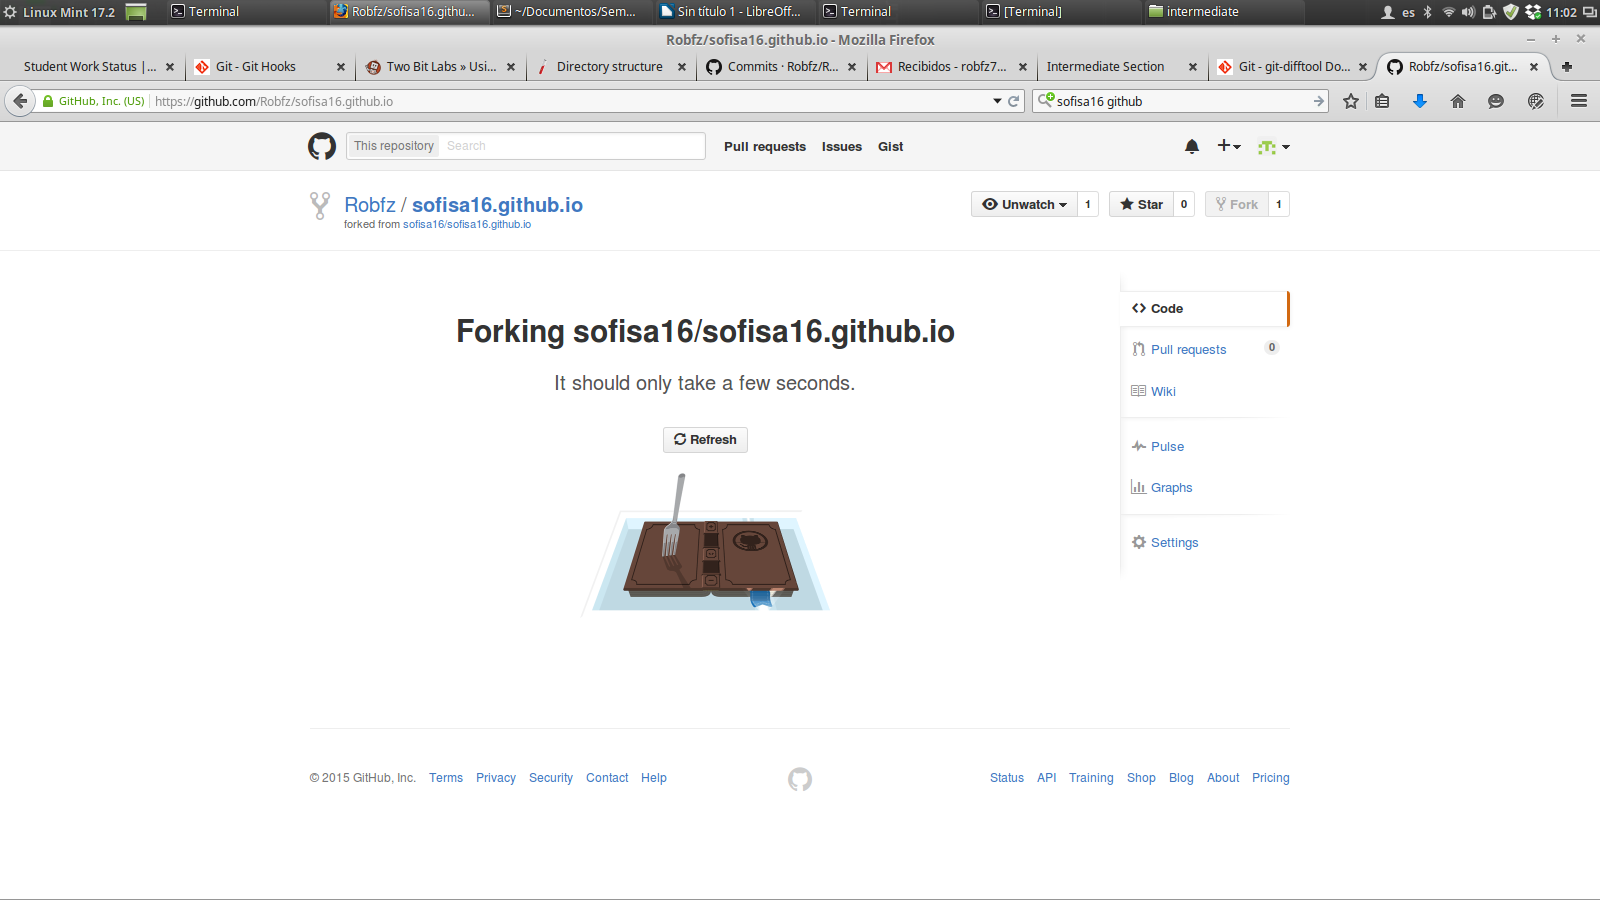
And the magic kicks in:
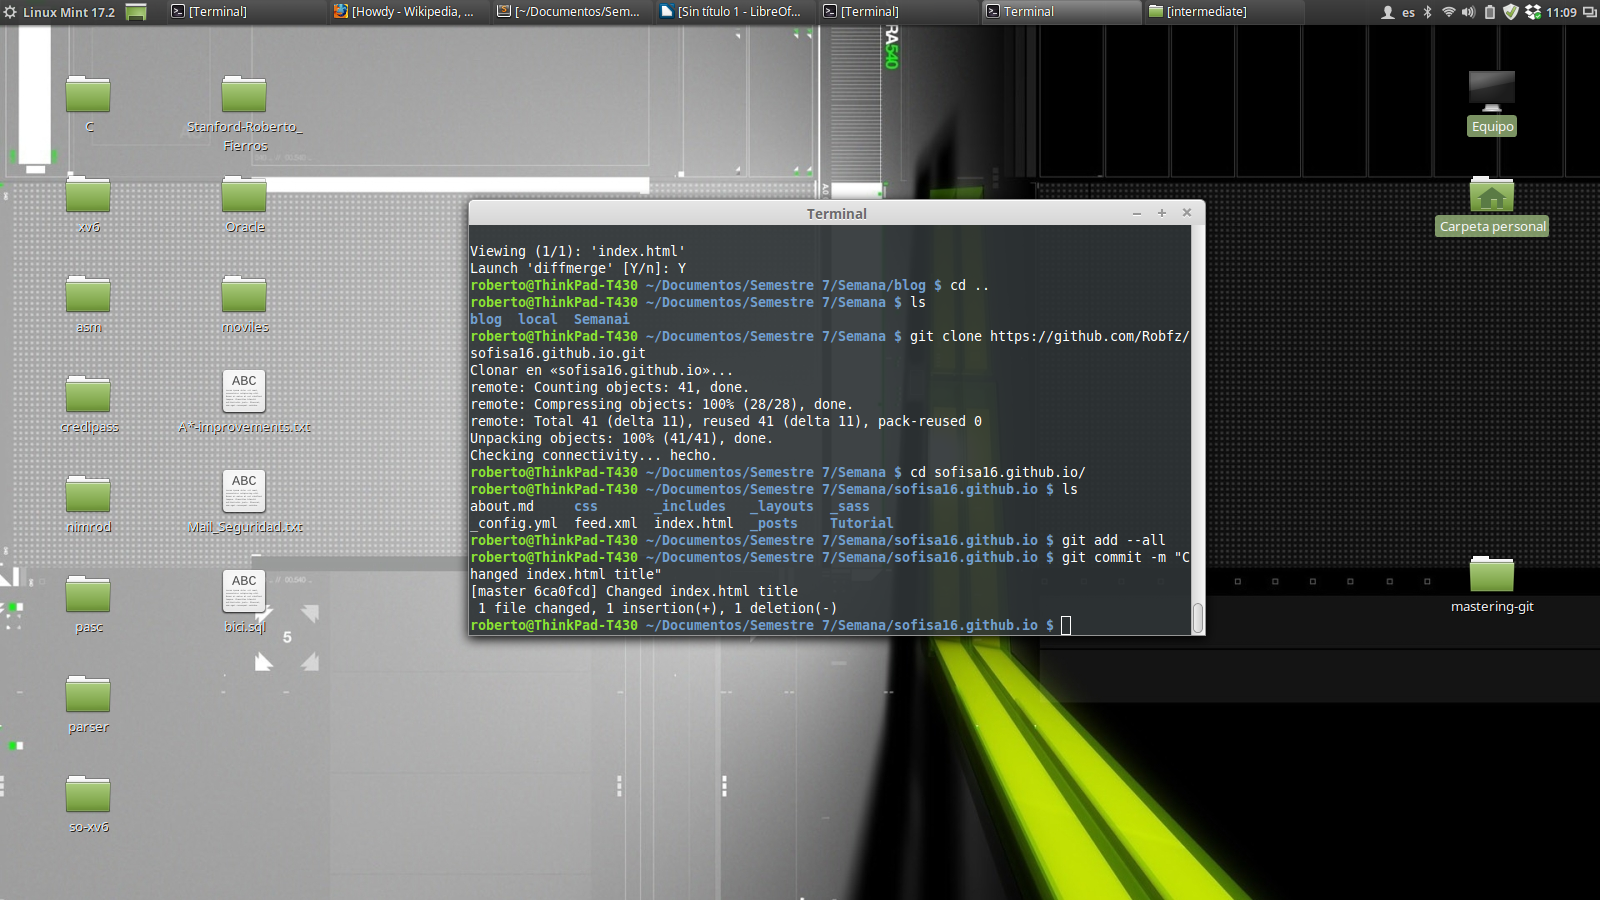
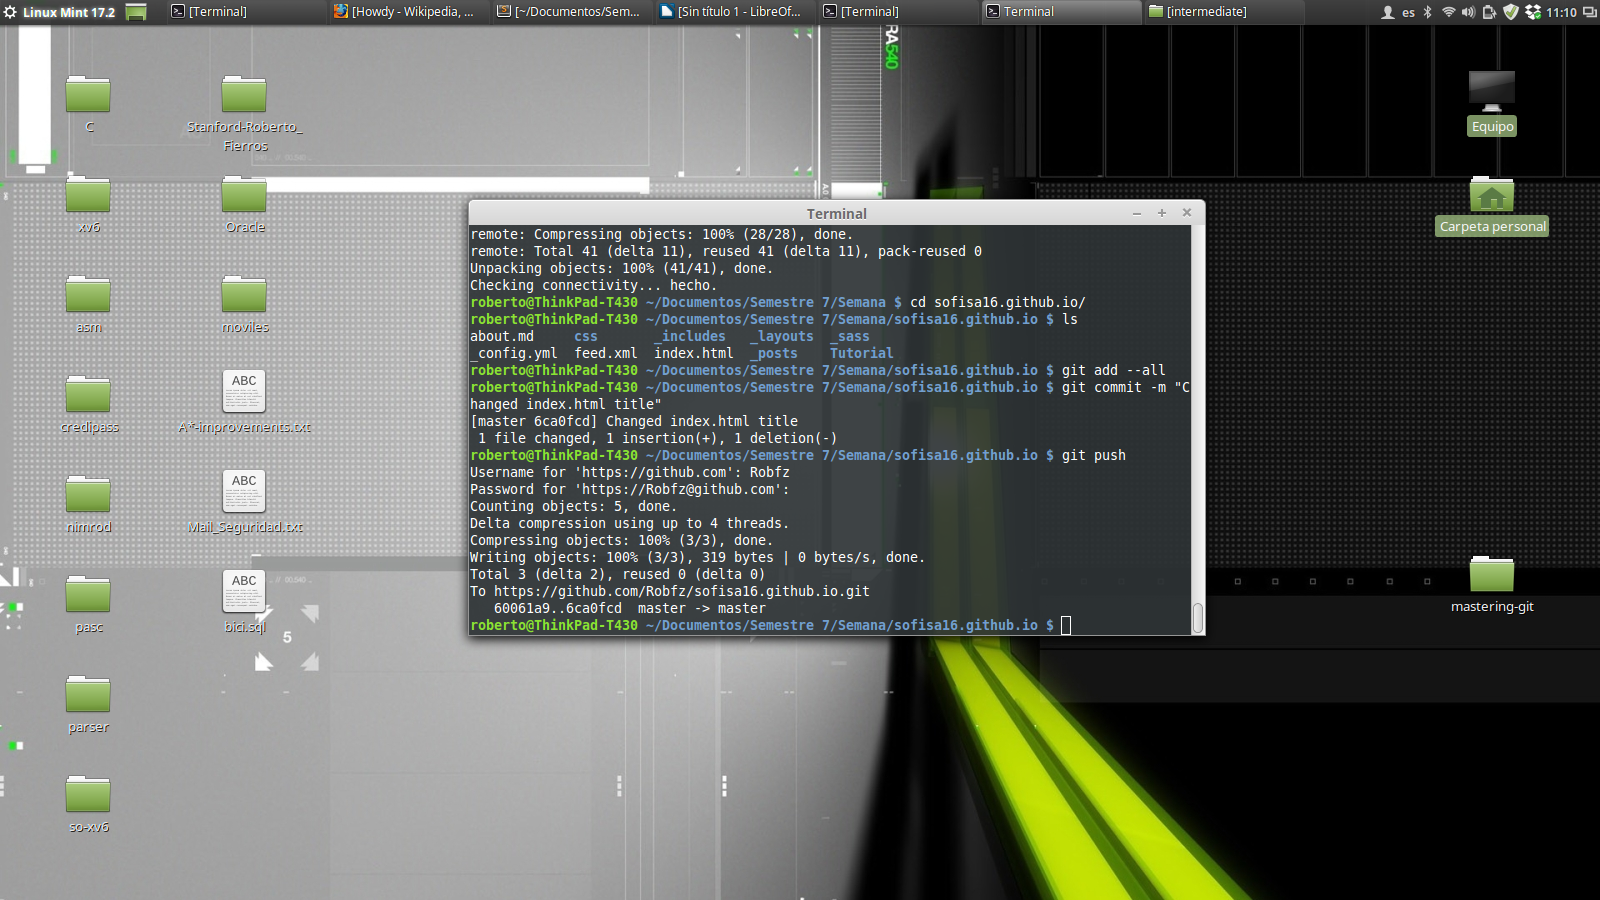
Lets clone our fork, make a modification to a file, commit the change and push them to the server:
Pull requests
Now that we have done some modifications on our fork, lets request the original author to merge our changes to her repository. This is called a pull request.
To create a pull request, go to your forked repository and click on the little green button next to the branch button:
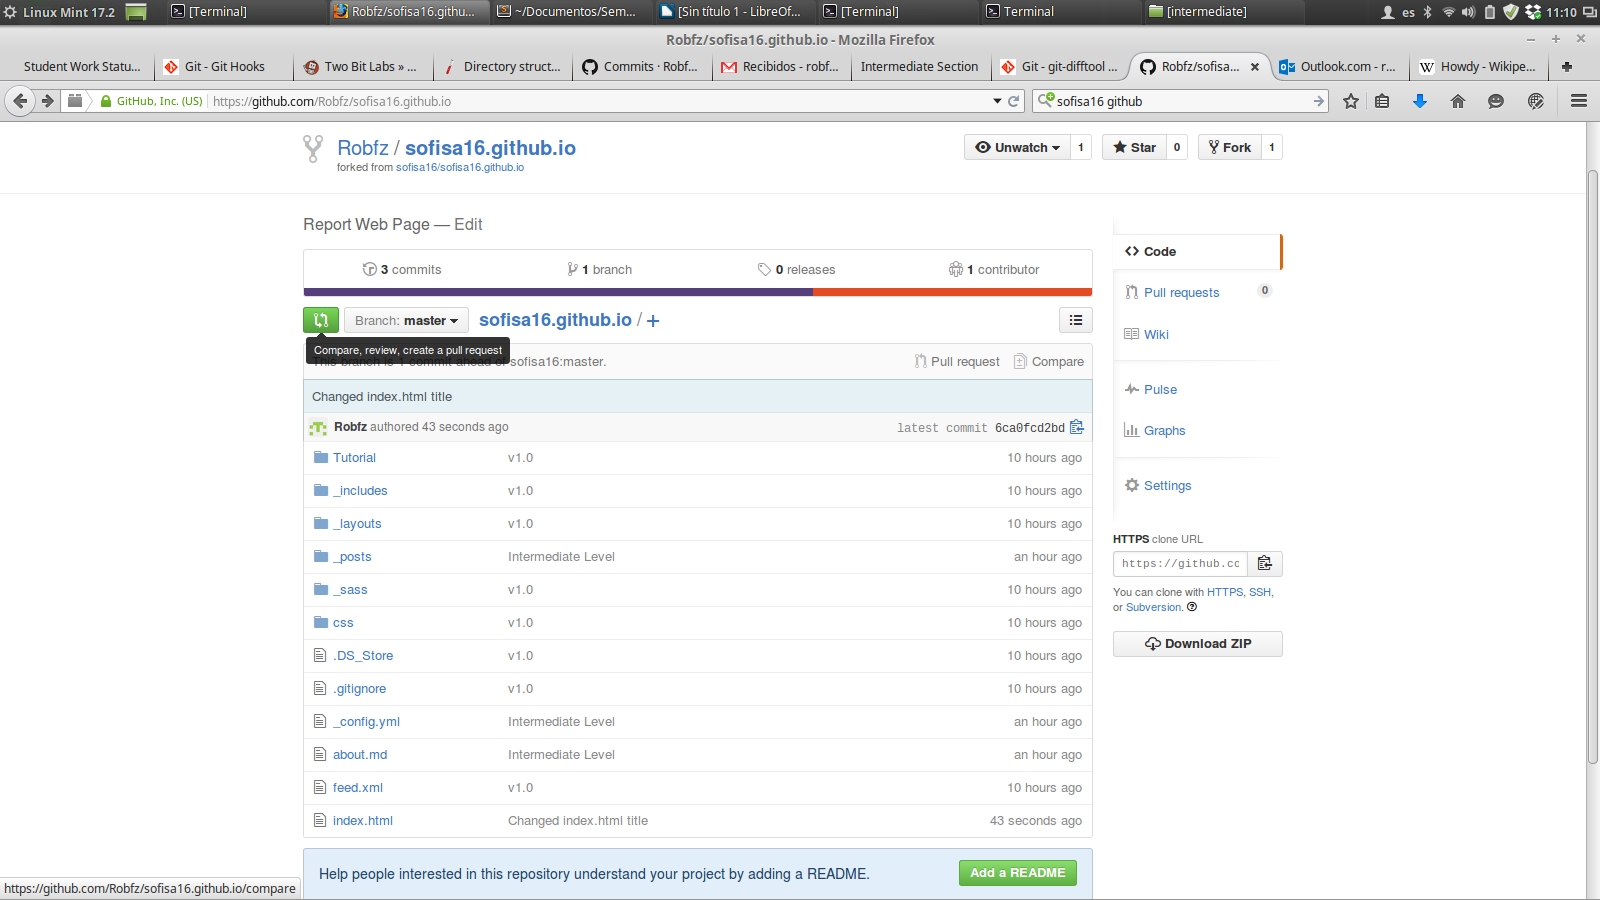
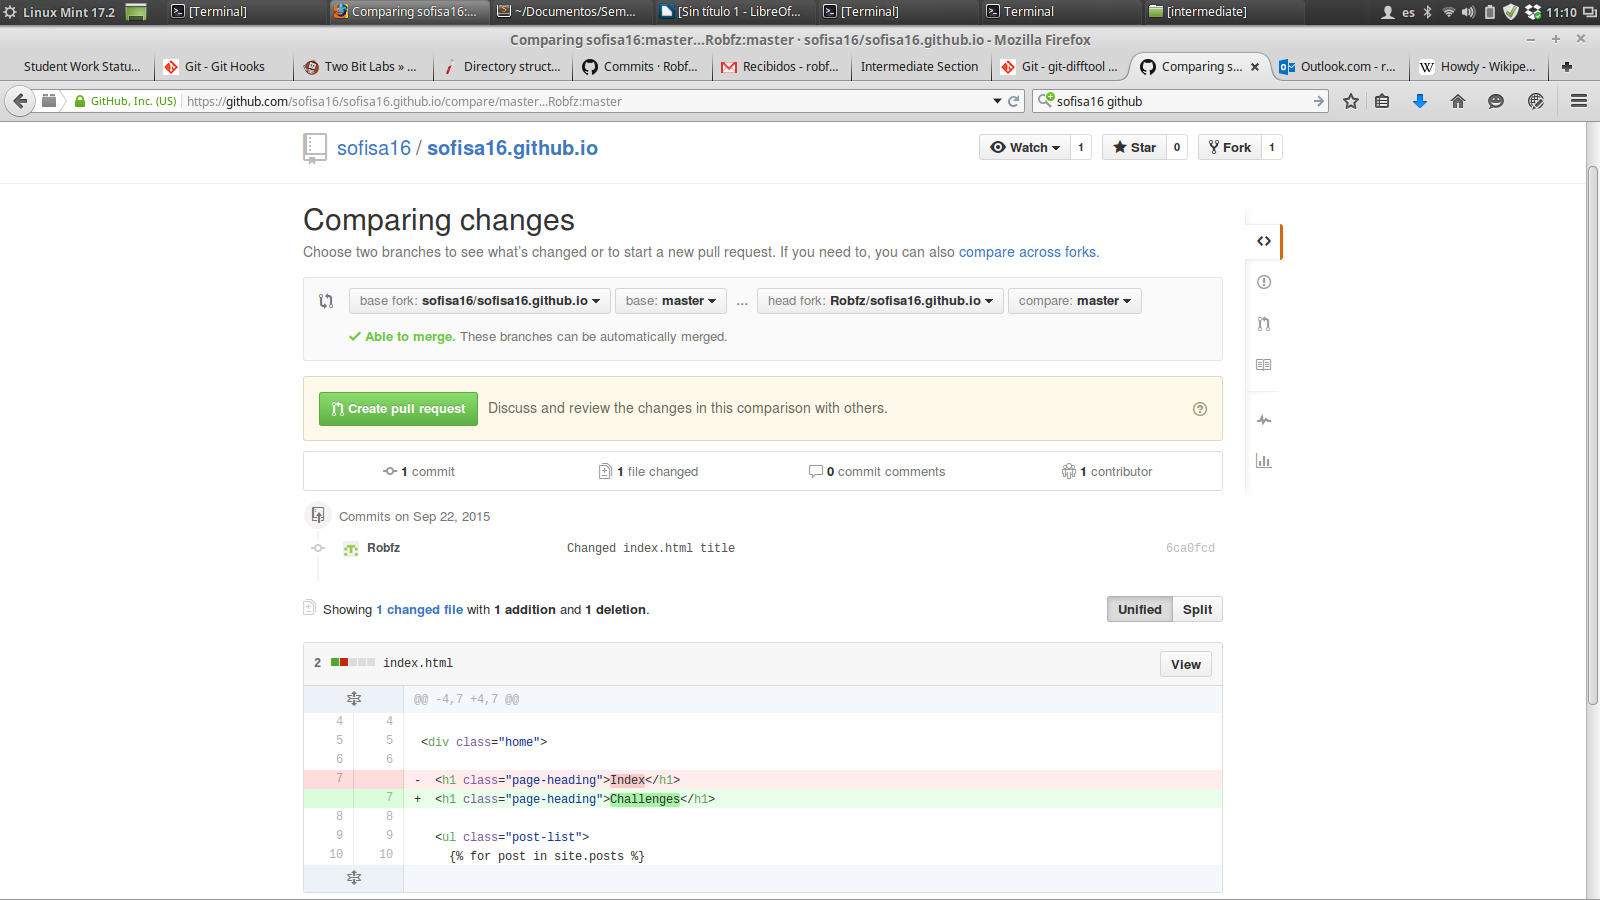
You can see the changes done. Then click on ‘Create pull request’:
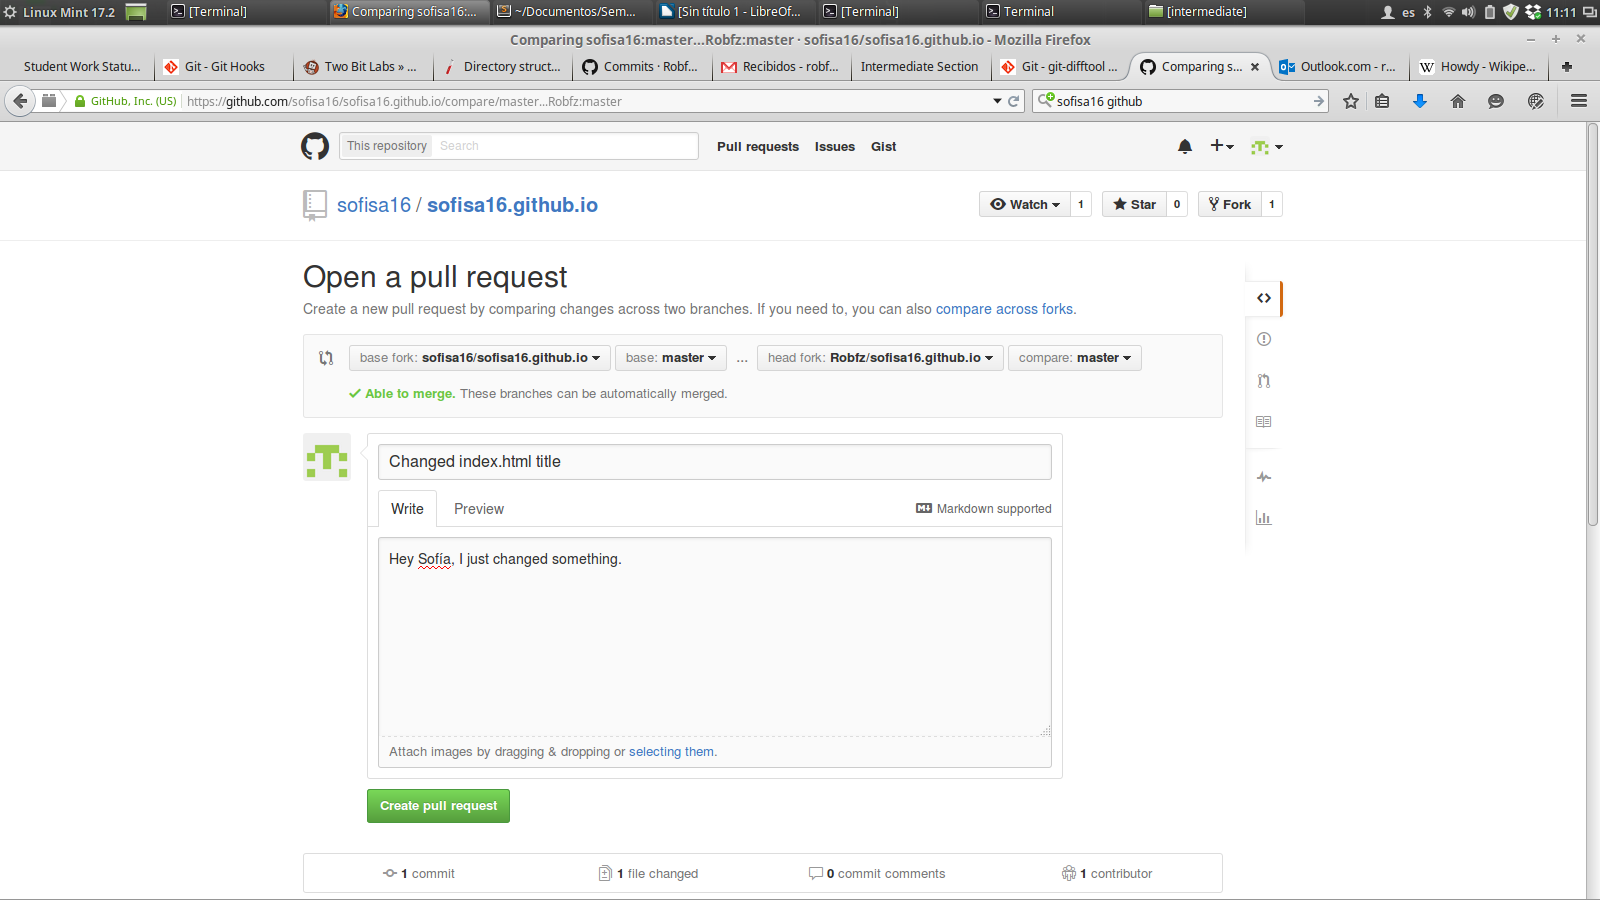
Write a title for your pull request and a description:
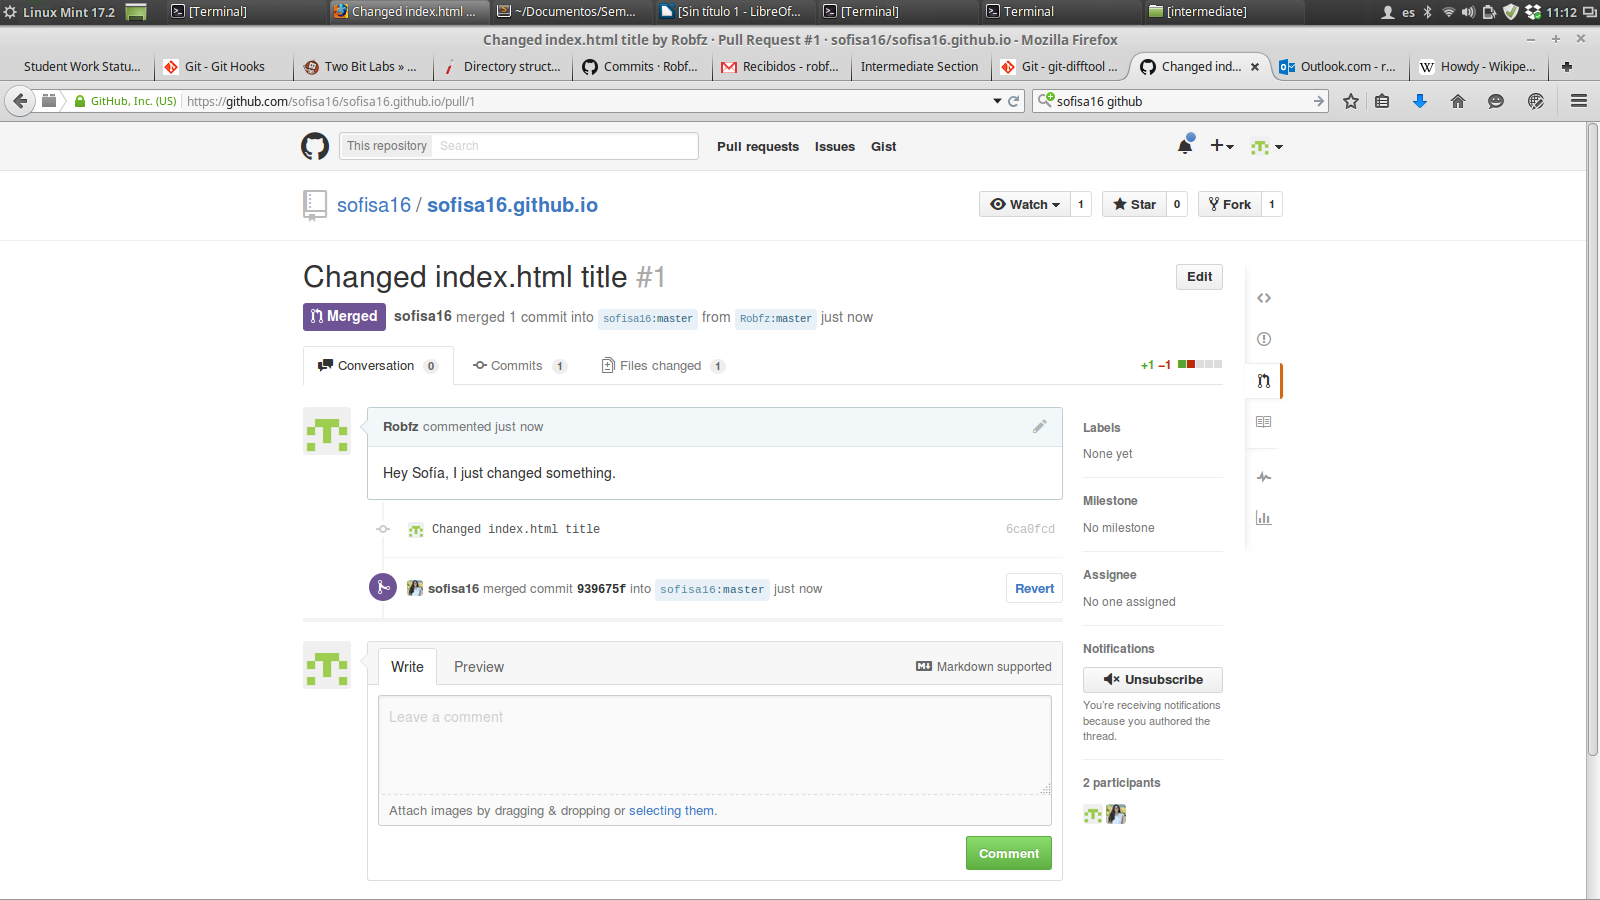
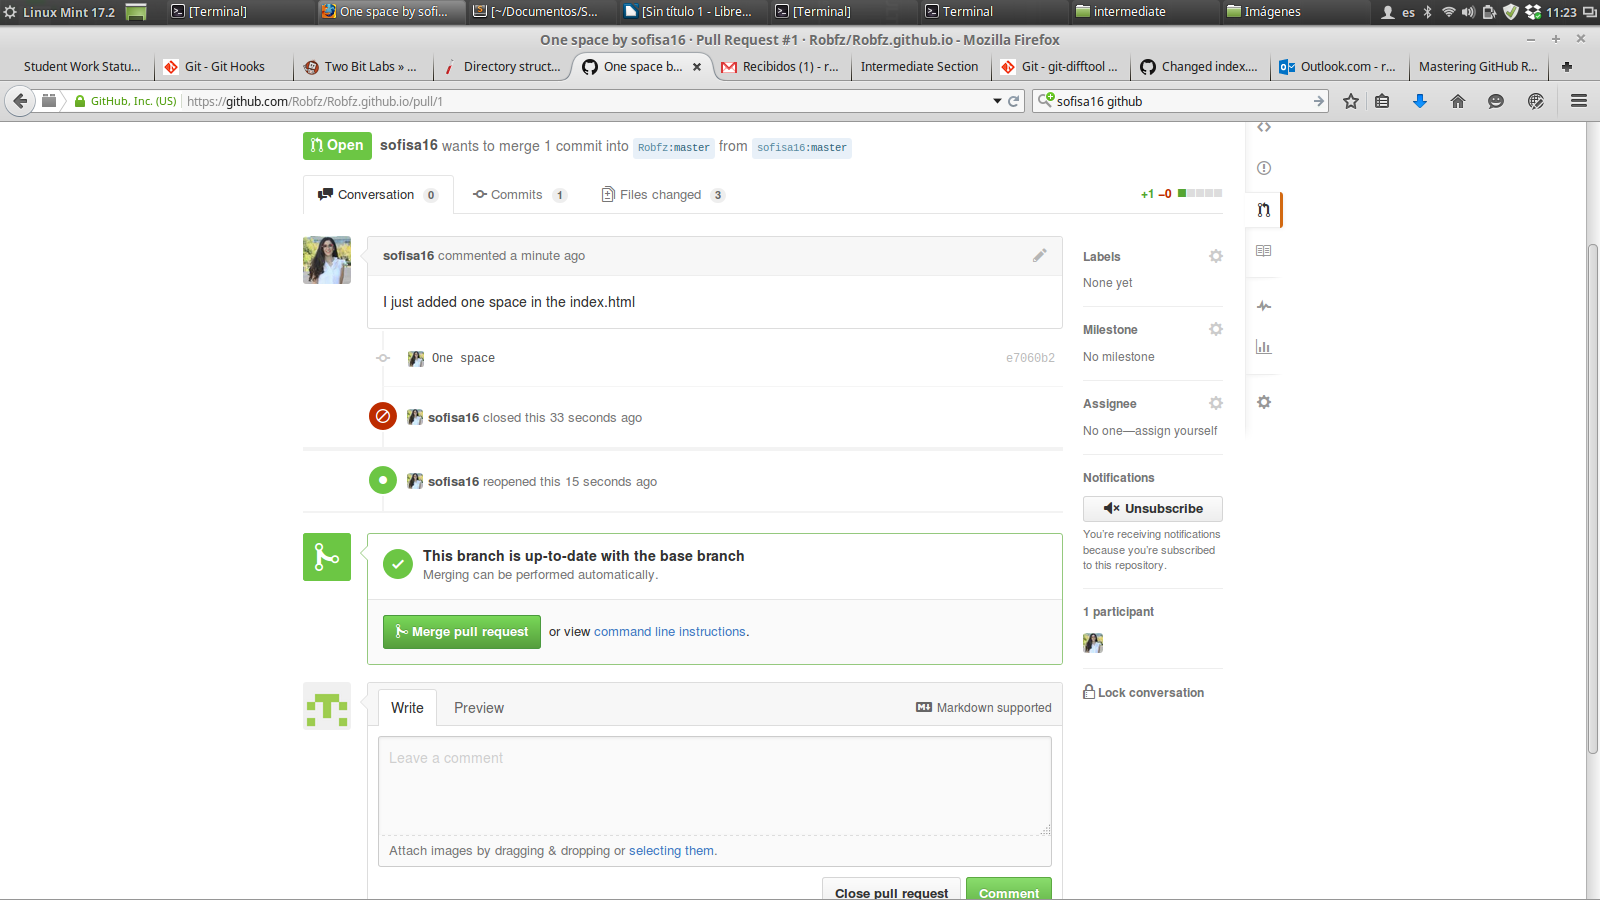
Then, you just have to wait for the author to accept or reject your request. In our case, our request was accepted!
Accepting pull requests
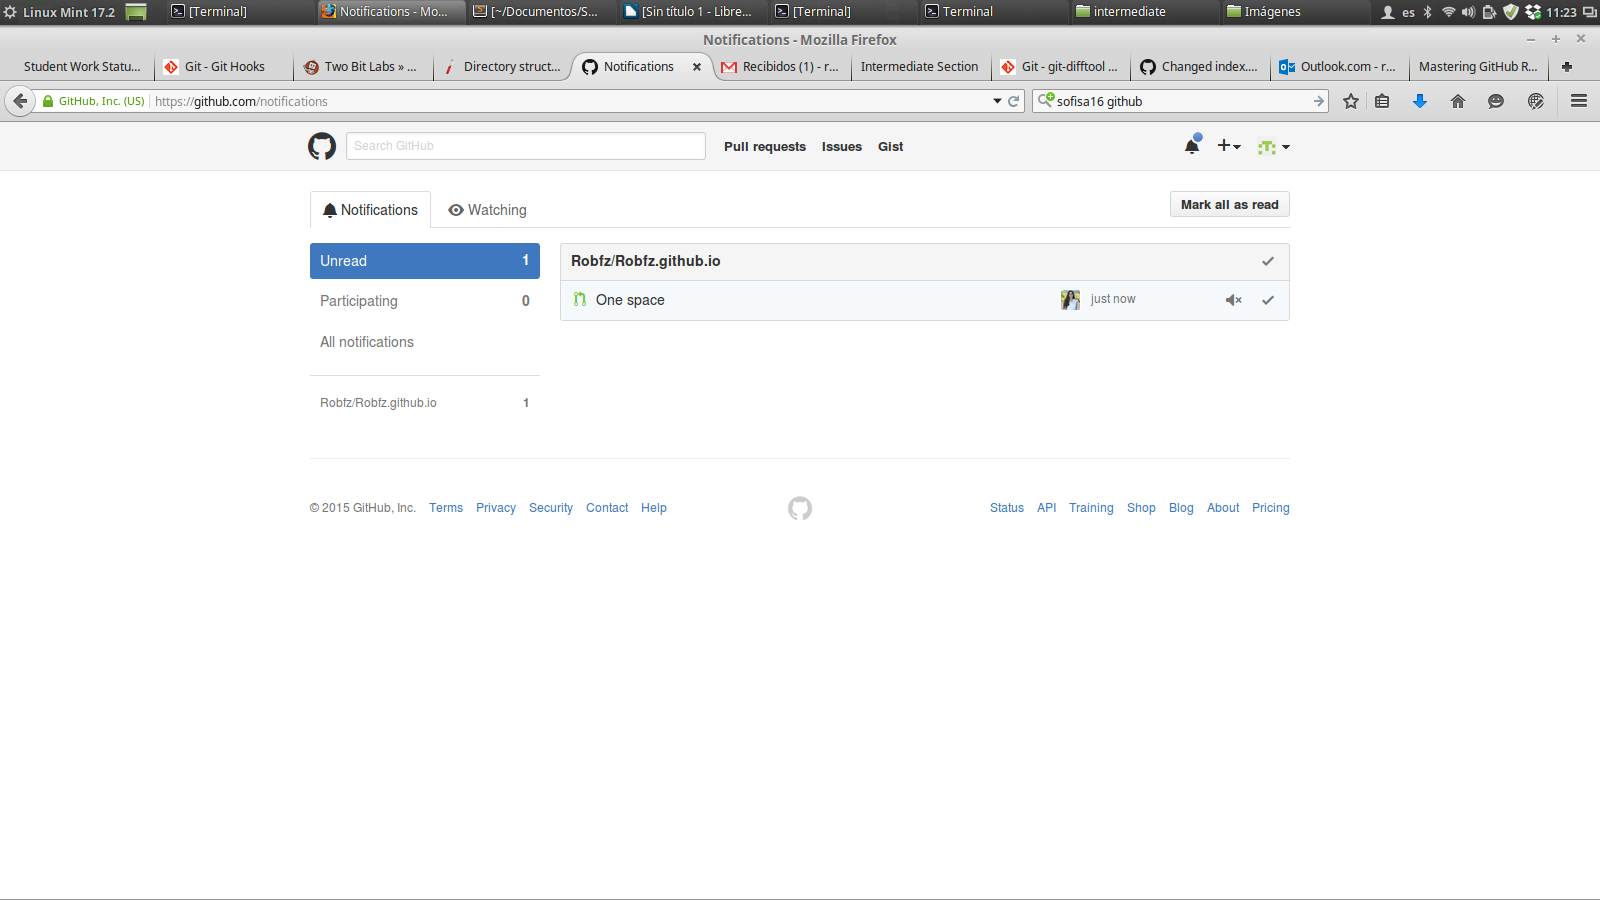
If someone forks a repository from us and makes a pull request, GitHub will notify us:
We can review the changes and decide if we want to merge the changes in our repository:
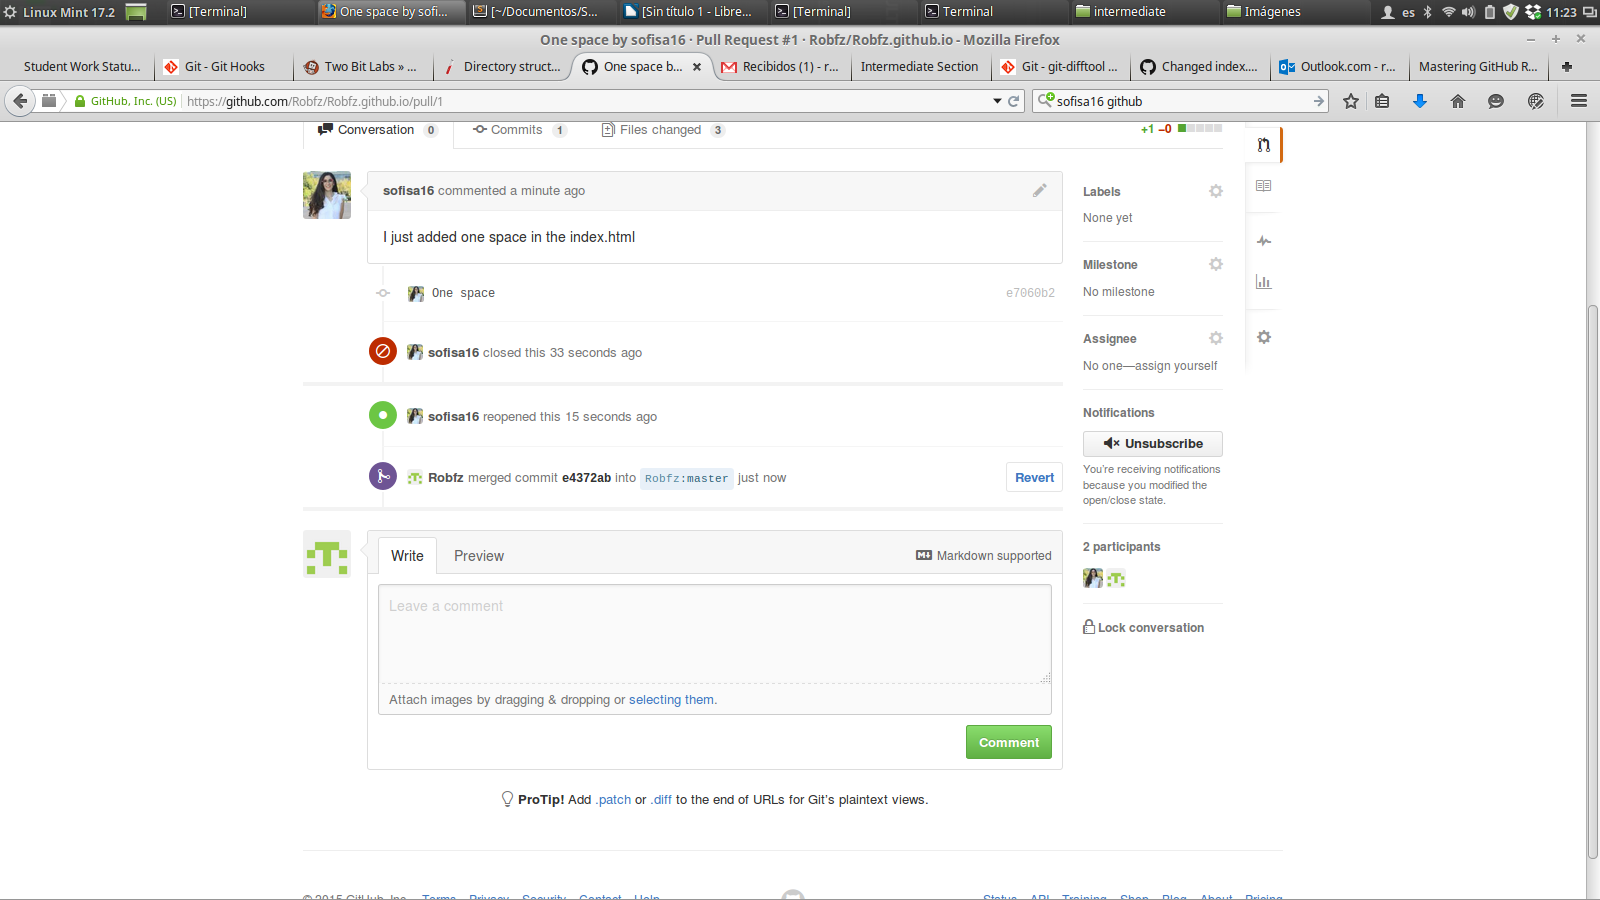
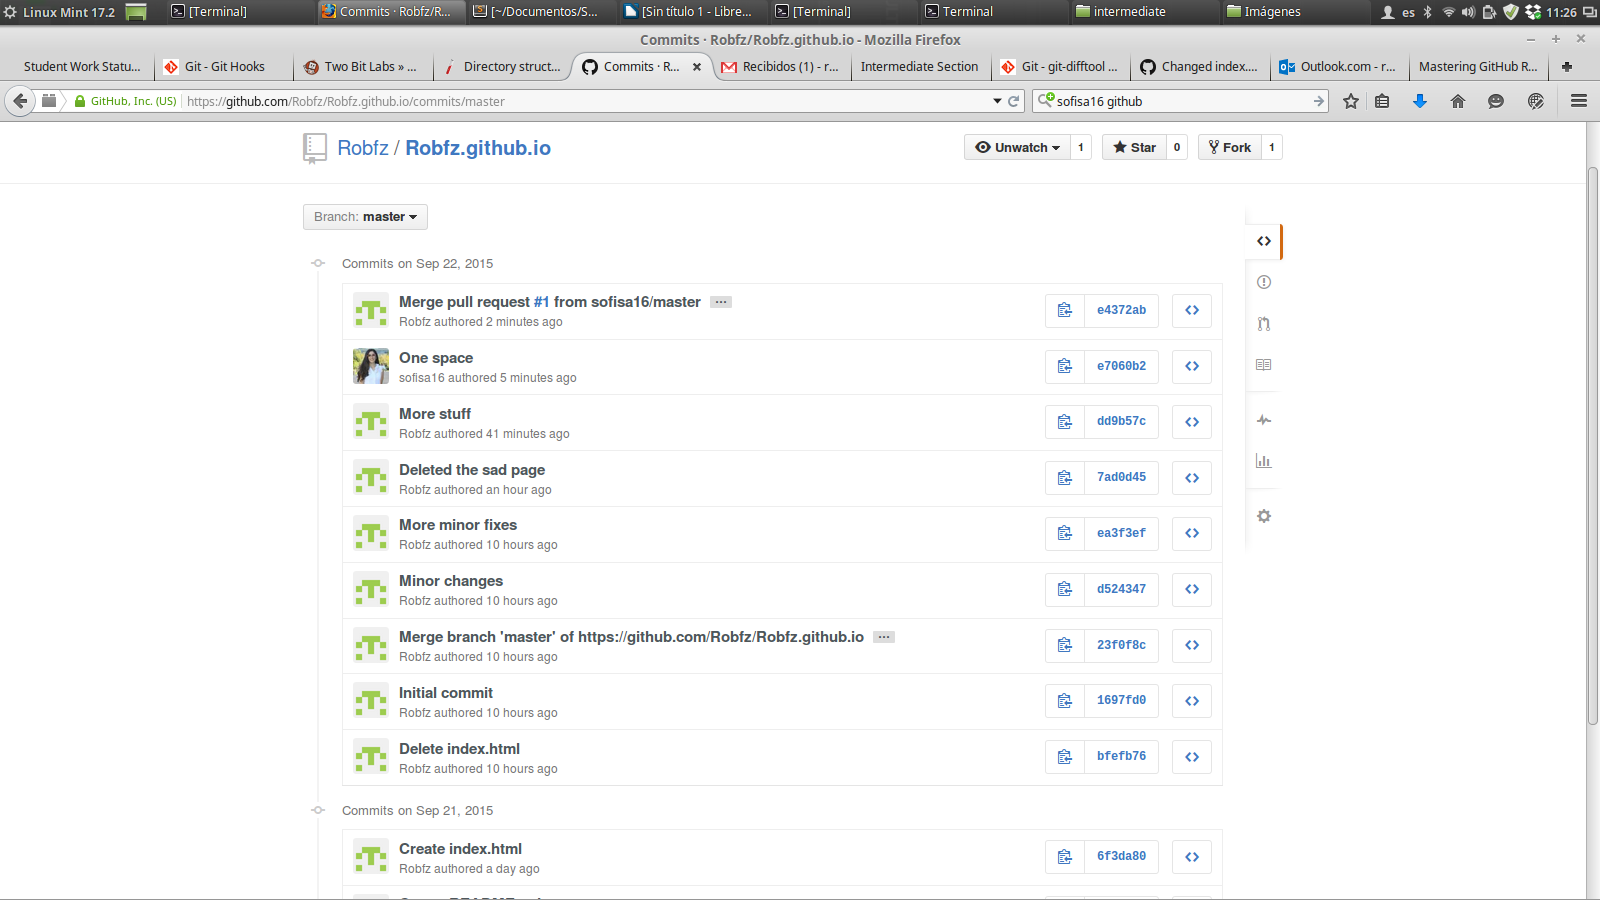
Then we can see the commit history; collaboration is cool!
And we are finished. This Semana i course was way better than i tought.
For more info on Git, I highly recommend the Git Documentation. Also than you professor Bauer, you were amazing these two days.